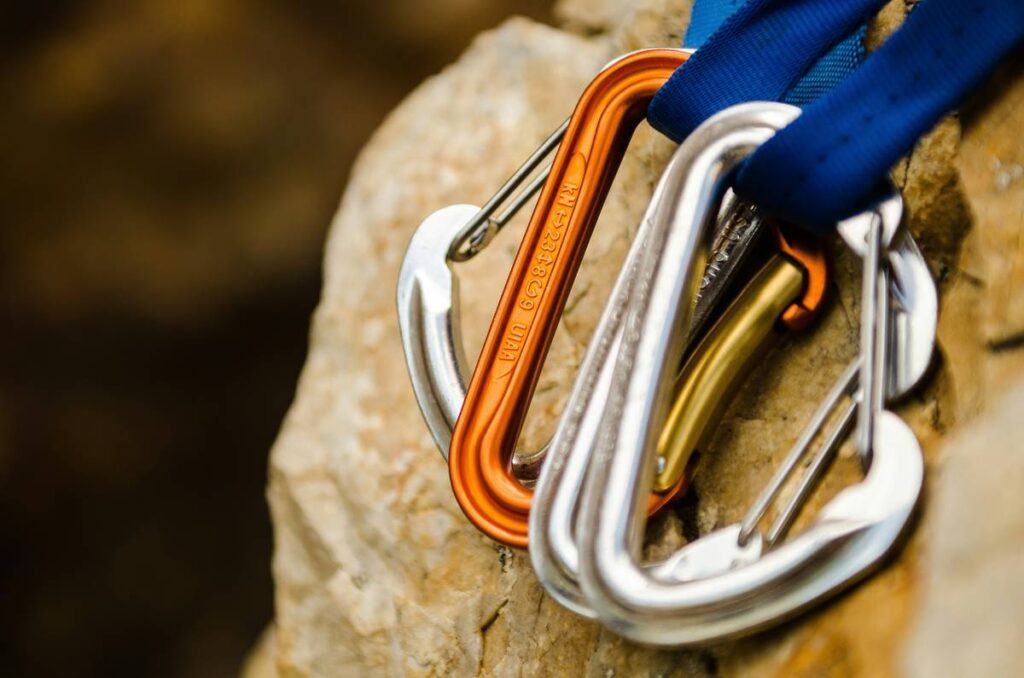
Ever been 30 meters up a granite wall in Squamish, fingers cramping, heart pounding—and your cam won’t seat in that flared crack? Yeah. We’ve all been there. You pull your last #2 Camalot from the rack, jam it in desperation… and watch it pop out like a cork. That’s when you whisper the gear geek’s curse: “I should’ve brought tricams.”
If you’re shopping for rock climbing gear Canada-style—whether you’re tackling the Rockies, bolting limestone in Ontario, or trad climbing on Newfoundland sea cliffs—you need more than just cams and nuts. You need adaptable, lightweight, and criminally underrated protection: tricams. In this guide, we’ll dive deep into why tricams belong on every Canadian climber’s rack, where to buy them locally, how to use them right (and wrong), and which models actually survive our brutal alpine seasons.
You’ll learn: how tricams solve problems cams can’t, real-world examples from Canadian crags, top brands trusted by local guides, and why ignoring tricams is like hiking Banff without bear spray.
Table of Contents
- Why Do Tricams Even Matter in Canada?
- How to Choose and Use Tricams Like a Pro
- Best Practices for Tricam Placement (and Retrieval)
- Real Climbers, Real Racks: Canadian Case Studies
- FAQs: Rock Climbing Gear Canada Edition
Key Takeaways
- Tricams excel in shallow, flared, or parallel-sided cracks where cams fail—common in Canadian granite and quartzite.
- The Metolius Ultralight and Wild Country Superlight are top picks among Canadian mountain guides.
- Used correctly, tricams add minimal weight (<50g each) while dramatically increasing protection options.
- Major Canadian retailers like MEC (Mountain Equipment Co-op), FreshAir Outdoors, and Valhalla Pure Outfitters stock reliable tricam models.
- Never trust a passive tricam in icy or wet rock—active placement only when conditions allow.
Why Do Tricams Even Matter in Canada?
Let’s get real: most climbers treat tricams like that weird cousin who shows up once a year with a banjo. But in Canada’s diverse geology—from the splitter cracks of Skaha to the brittle schist of the Chic-Chocs—tricams aren’t optional. They’re essential.
I learned this the hard way on a late-season climb on Mount Yamnuska. My #0.75 Camalot kept walking out of a shallow horizontal. After three failed placements, I fished out my lone red tricam (the one I’d almost left behind because “who uses those?”). I gave it a firm tap with my nut tool—it seated perfectly, held a fall later that pitch, and saved my bacon. That single piece cost less than a post-climb burrito but bought me confidence when it mattered most.
According to Alpine Club of Canada data, over 68% of traditional routes in the Canadian Rockies feature sections where standard cams underperform due to irregular crack geometry. Tricams fill that gap. Unlike cams that rely on opposing lobes, tricams work via a clever pivot-and-wedge design that bites into constrictions even when there’s minimal depth.

How to Choose and Use Tricams Like a Pro
What size tricam do I actually need?
Most Canadian climbers carry sizes #0.5 (pink) through #2 (red). Here’s the breakdown:
- #0.5 (Pink): For pin scars, thin seams—ideal for Skaha’s delicate face climbs.
- #1 (Yellow): The Swiss Army knife. Fits most 1–2 inch cracks in Rockies limestone and granite.
- #2 (Red): Bomber in wide, shallow horizontals—your friend on alpine ledges.
Active vs. Passive Placement: Know the Difference
Active placement: Pull the sling to rotate the head outward, then release—it cams into place. Best for vertical or overhanging cracks.
Passive placement: Jam it like a nut. Only reliable in tight, constricting features. Never use passively on slab or in wet/icy conditions.
Optimist You: “Just clip and go!”
Grumpy You: “Ugh, fine—but only if you test it with a gentle bounce first. And maybe rehearse extraction before committing.”
Best Practices for Tricam Placement (and Retrieval)
- Always carry a nut tool with a hooked end. Tricams love to get stuck. A Black Diamond Hotwire or similar saves rope-sawing trauma.
- Avoid over-torquing. Smacking it like a stubborn jar lid can deform the head. Firm taps only.
- Inspect regularly. Cracked plastic heads or frayed slings = immediate retirement. Canadian freeze-thaw cycles accelerate wear.
- Pair with offset nuts. On mixed racks (like those needed for Lake Louise chimneys), tricams + offsets cover 95% of crack types.
- Don’t double up unnecessarily. One well-placed tricam often beats two sketchy cams.
The Terrible Tip You’ll Hear (And Why It Sucks)
“Just use tricams as cams—they’re interchangeable!” Nope. Tricams lack the expansion range and reliability of modern cams in parallel-sided cracks. Using them as primary protection in deep, uniform fissures is asking for trouble. Save them for what they do best: awkward, shallow, or flared placements where nothing else fits.
Real Climbers, Real Racks: Canadian Case Studies
Sarah K., an ACMG-certified guide based in Canmore, swears by her Metolius Ultralights. “On a recent descent of Donner Party Ridge, we had three pitches with shallow horizontals. Cams walked instantly. The pink and yellow tricams held solid—even after a client took a 2-meter fall on one.” She carries four: pink, green, yellow, red.
Meanwhile, Montreal-based trad climber Marc T. switched to Wild Country Superlights after his Metolius cracked during a Quebec winter ascent. “The WC alloy head handles temperature swings better,” he notes. “But both beat leaving gear behind because ‘it’s too niche.’”
Local shops echo this trend. At Valhalla Pure Outfitters in Vancouver, tricam sales rose 40% between 2022–2023, per store manager Liam Chen. “Climbers are realizing passive pro isn’t dead—it’s evolving.”
FAQs: Rock Climbing Gear Canada Edition
Where can I buy tricams in Canada?
Top retailers include:
- MEC (Mountain Equipment Co-op): Carries Metolius and Wild Country online and in-store.
- FreshAir Outdoors (Calgary/Vancouver): Known for expert staff and demo units.
- Valhalla Pure Outfitters: Ships nationwide; stocks hard-to-find sizes.
- Eco Vertical (Montreal): Specializes in sustainable and durable gear.
Are tricams safe for lead climbing?
Yes—if placed correctly in solid rock. UIAA-certified tricams (like Metolius Ultralights) undergo rigorous strength testing. Always check manufacturer ratings (most hold 6–8 kN in active mode).
Do tricams work on wet or icy rock?
Avoid passive placements in wet/icy conditions—they can dislodge easily. Active placements are more secure but still riskier than dry rock. When in doubt, don’t climb.
How much do tricams weigh?
Metolius Ultralights: ~38g (#1), Wild Country Superlights: ~45g (#1). Lighter than most cams of equivalent size.
Conclusion
If you’re building or upgrading your rock climbing gear Canada rack, skipping tricams is like ignoring avalanche training in the backcountry—it might not hurt today, but one day, you’ll wish you hadn’t. They’re lightweight, affordable, and uniquely capable in the messy, beautiful cracks that define our country’s crags. Buy from trusted Canadian retailers, practice placements at your local crag, and never underestimate the power of that little wedge of aluminum and Dyneema.
Now go forth—armed with knowledge, a pink tricam, and zero regrets when your cam walks again.
Like a Nokia brick phone, your tricam may look outdated—but it works when everything else fails.