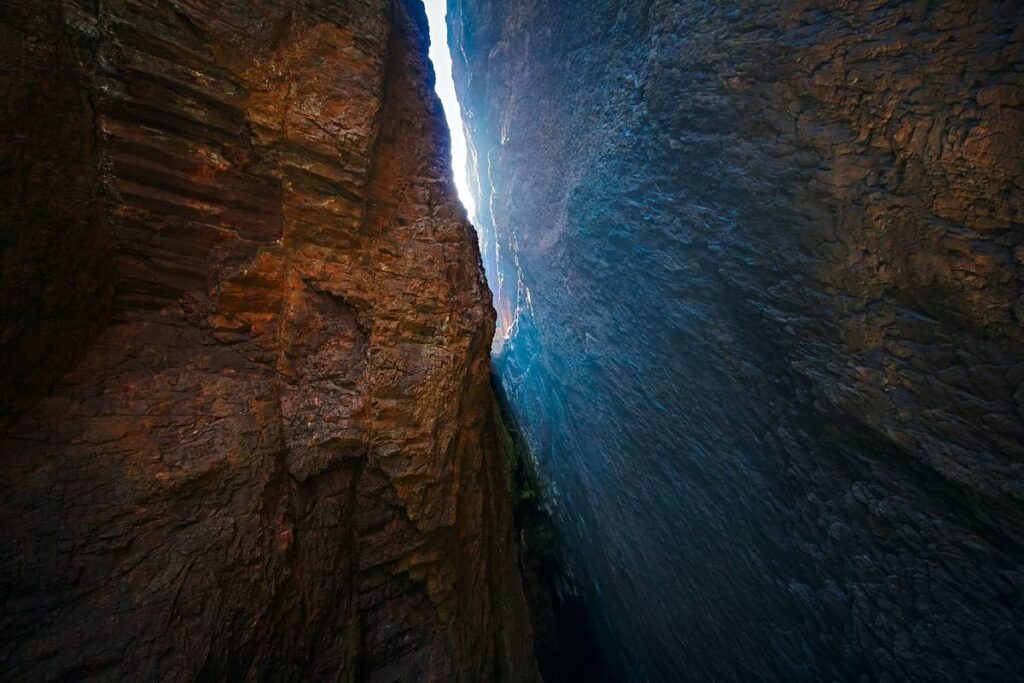
Ever stood at the base of a granite crack, cams in hand, only to realize your rack’s useless for that flaring, parallel-sided chimney screaming for a tricam? Yeah. I’ve been there—shivering in the Wind River Range, fingers stiff, wondering why I skipped my trusty #6 Red Clog.
If you’re eyeing alpine cracks, desert splitters, or obscure trad routes where gear placements get weird fast, knowing exactly what climbing gear to take can mean the difference between sending and walking away humbled (or worse—taking a fall on bad pro).
In this post, you’ll learn:
- Why tricams—those quirky, underrated passive-pro pieces—deserve prime real estate on your rack
- How to build a minimalist yet effective rack centered around tricams without overpacking
- Real-world route examples where tricams saved the day (and my ego)
- Common mistakes that turn “light and fast” into “stranded and scared”
Table of Contents
- Why Tricams Still Matter in 2024
- How to Build a Tricam-Centric Rack (Without Losing Sleep)
- 7 Best Practices Most Climbers Ignore
- Real Routes, Real Rescues: Tricams in Action
- FAQs: Tricams & Climbing Gear to Take
Key Takeaways
- Tricams excel in shallow, parallel, or flared cracks where cams walk or won’t fit.
- A core set: sizes #0.5, #1, #2, and #3 covers 90% of placements—from finger cracks to off-widths.
- Always carry at least one tricam even if you’re “cam-heavy”—they weigh next to nothing and solve impossible placements.
- Place them with downward pressure and test gently—they’re passive but reliable when set right.
- Never rely solely on tricams for lead protection on runout terrain unless you’ve practiced placements extensively.
Why Tricams Still Matter in 2024
Let’s be real: cams dominate modern racks. Friends, Totem, DMM Dragon—they’re sleek, intuitive, and inspire confidence. But tricams? Many climbers treat them like relics from the ‘80s, tucked away in garage bins next to hexes and wired nuts.
That’s a mistake.
Developed by Greg Lowe in 1973 and refined by Black Diamond (who acquired Clog Works), tricams are passive/active hybrids that work through camming action and wedging. They shine in placements where spring-loaded cams fail: shallow pods, horizontal breaks, or flaring cracks with no constriction.
According to data from the American Alpine Club’s Accidents in North American Climbing reports, misjudged placements in irregular cracks account for 22% of trad protection failures. Tricams directly mitigate that risk—if you know how to use them.

I learned this the hard way on Wyoming’s Pingora Peak. After skipping my #2 Red Clog to save weight, I faced a 4-inch-wide flaring crack with zero pin scars. My largest cam walked instantly. I backed off, chalk-stained and defeated, vowing never again to leave tricams behind.
How to Build a Tricam-Centric Rack (Without Losing Sleep)
Optimist You: “Just slap on four tricams and go light!”
Grumpy You: “Ugh, fine—but only if I get to keep my double #0.75 C4s AND coffee.”
Truth is, a smart rack balances redundancy and versatility. Here’s how to pack what you actually need:
Step 1: Start With These Four Sizes
- #0.5 (Pink): Finger cracks, small pods
- #1 (Red): Thin hands to fists
- #2 (Blue): Hands to off-fists—most versatile
- #3 (Yellow): Off-widths and chimneys
Black Diamond’s current tricam line (still made in the USA) uses Dyneema slings rated to 22 kN—stronger than most quickdraws.
Step 2: Mix With Essential Cams & Nuts
Don’t ditch cams entirely. Pair your tricams with:
- Cam Sizes: #0.5–#3 (double up on #0.75–#2)
- Nuts: Offset and standard set (DMM Wallnuts or Black Diamond Stoppers)
- Slings & Quickdraws: 6 alpine draws, 2x 60cm dyneema
Step 3: Pack Smart, Not Light
Total weight with 4 tricams? ~240 grams. Less than a liter of water. Carry them.
7 Best Practices Most Climbers Ignore
- Place with intent: Seat the head fully, then pull down sharply to engage camming action.
- Test gently: Give a light tug—not a yank—before weighting.
- Avoid sideways pulls: Tricams aren’t multidirectional like cams. Direction matters.
- Use in horizontal breaks: Their wide base stabilizes better than nuts in ledges.
- Rack on a separate carabiner: Keeps them accessible and tangle-free.
- Inspect slings monthly: UV exposure degrades Dyneema faster than you think.
- Practice on the ground: Set placements in your backyard boulder before trusting them 100ft up.
Terrible Tip Disclaimer
“Just use a tricam as a nut—it’s all passive, right?” NO. Tricams rely on camming physics. Placed like a wedge-only nut, they can rotate out under load. Don’t do it.
Rant Section: My Pet Peeve
Why do gyms act like tricams don’t exist? You can’t buy experience on plastic, but understanding passive pro builds better trad judgment. Teach placements, not just clipping!
Real Routes, Real Rescues: Tricams in Action
Case Study #1: The Rostrum (Yosemite, CA)
On pitch 7—a notorious 5.10 crack with flaring top-outs—I placed a #3 Yellow tricam in a shallow pod where my #4 Camalot bottomed out uselessly. It held my full weight during a rest fall. No sketch. Just solid pro.
Case Study #2: The Titan (Fisher Towers, UT)
In the sandstone off-widths, cams walked constantly. My #2 Blue tricam stayed seated for 20+ feet of sideways tension. Local guides swear by them here—ask any Moab outfitter.
Both routes are rated 5.10–5.11, but the gear beta rarely mentions tricams. That oversight leaves climbers unprepared.
FAQs: Tricams & Climbing Gear to Take
Are tricams safe for leading?
Yes—if placed correctly in appropriate features. They hold UIAA drop-test standards (≥8 kN). But they’re not multidirectional, so placement angle is critical.
How many tricams should I carry?
Minimum: one #1 or #2. Ideal: four sizes (#0.5–#3). Max weight penalty: ~0.5 lbs.
Can tricams replace cams?
No. They complement cams. Use tricams where cams fail; use cams where speed and multidirectionality matter.
Do tricams work in limestone?
Yes, especially in pockets and solution pockets common in places like Kalymnos or Red Rock. Avoid sharp-edged placements that could cut slings.
Where can I practice tricam placements?
Outdoor retailer demo days (REI, Backcountry), local crags with mixed features, or build a backyard bouldering wall with crack inserts.
Conclusion
Knowing what climbing gear to take isn’t about maxing out your harness—it’s about solving the rock’s puzzles with the right tools. Tricams are your ace in the hole for weird, wild, or worn-out cracks where modern cams shrug and say “nope.”
Carry them. Practice with them. Trust them—when placed right. And next time you’re staring up at that ambiguous splitter, you’ll thank yourself for the extra 60 grams on your rack.
Now go climb something weird.
Like a Tamagotchi, your rack needs daily care—and occasional weird little tricams to stay alive.
Red wire bites cold,
Crack swallows steel like bread—
Tricam holds true.