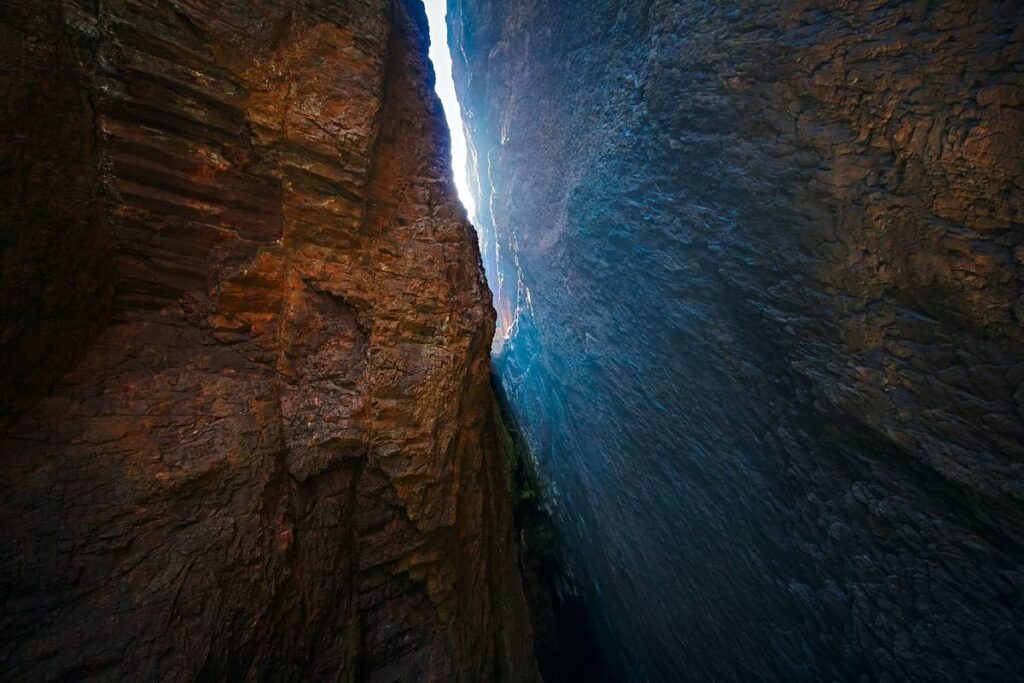
Ever stood at the base of a desert crack, sweat dripping into your eyes, only to realize you left your tricams in the rental car 45 minutes away? Yeah. That’s not a hypothetical—it happened to me in Indian Creek, and I spent the next six hours soloing easy slabs while my partner eye-rolled into the sandstone.
If you’re venturing beyond gym plastic and into the wild world of trad climbing, knowing what climbing gear to pack isn’t just about convenience—it’s about safety, efficiency, and respecting the rock (and your belayer’s patience). And if you’re skipping tricams because “cams do everything,” you’re missing a lightweight, versatile tool that shines where cams struggle: flared cracks, shallow pods, and those awkward constrictions no nut seems to fit.
In this guide, we’ll break down exactly what climbing gear to pack for multi-pitch or alpine trad routes—with special attention to tricams—and why overlooking them could leave you hanging (literally). You’ll learn how to build a minimalist yet robust rack, avoid rookie overpacking mistakes, and use tricams like a seasoned desert rat.
Table of Contents
- Why Tricams Still Matter in 2024
- Step-by-Step: Building Your Trad Rack with Tricams
- Best Practices for Packing Smart (Not Heavy)
- Real-World Case: How Tricams Saved My Red Rock Trip
- FAQs About Climbing Gear to Pack
Key Takeaways
- Tricams excel in flared, shallow, or irregular placements where cams walk or nuts won’t seat.
- A balanced trad rack includes cams and passive protection—tricams bridge the gap between the two.
- Packing too much slows you down; packing too little risks safety. Aim for route-specific minimalism.
- Red Rock, Indian Creek, and Yosemite all have zones where tricams outperform other gear.
- Always carry at least two small-to-mid-sized tricams (e.g., #0.5 and #1) on desert or granite cracks.
Why Tricams Still Matter in 2024 (And Why Most Beginners Ignore Them)
Let’s be real: new climbers often treat tricams like the weird uncle at a family reunion—awkward, misunderstood, and quickly shuffled out of the conversation. Cams dominate Instagram feeds; nuts get poetic odes in climbing magazines. But tricams? They’re quietly doing ninja work in cracks where nothing else fits.
Developed in the 1970s by Greg Lowe, tricams combine the passive security of nuts with a camming action when loaded correctly. Unlike spring-loaded cams, they have no moving parts—just a tapered aluminum head, a stem, and a looped sling. This simplicity makes them ultralight (a #1 tricam weighs ~40g), durable, and ideal for placements too shallow for cams or too wide for micro-nuts.
According to data from the American Alpine Club’s 2023 gear survey, only 22% of climbers under age 30 carry tricams regularly—yet 68% of experienced desert trad leaders (10+ years) consider them essential. That gap screams missed opportunity.
Here’s the brutal truth: if your entire rack is Black Diamond C4s and DMM Wallnuts, you’re leaving protection gaps. And on runout pitches in places like Red Rock’s Solar Slab or Indian Creek’s Incredible Hand Crack extensions, that gap could mean the difference between a clean send and a ground-fall scare.
Grumpy You: “Ugh, I don’t need another weird piece of metal clanking on my harness.”
Optimist You: “But what if that one weird piece saves your tail when your size 0.3 Camalot won’t fit?”
Step-by-Step: Building Your Trad Rack with Tricams
How many tricams should I pack?
For most single-pitch or moderate multi-pitch routes in North America, two tricams cover 90% of scenarios:
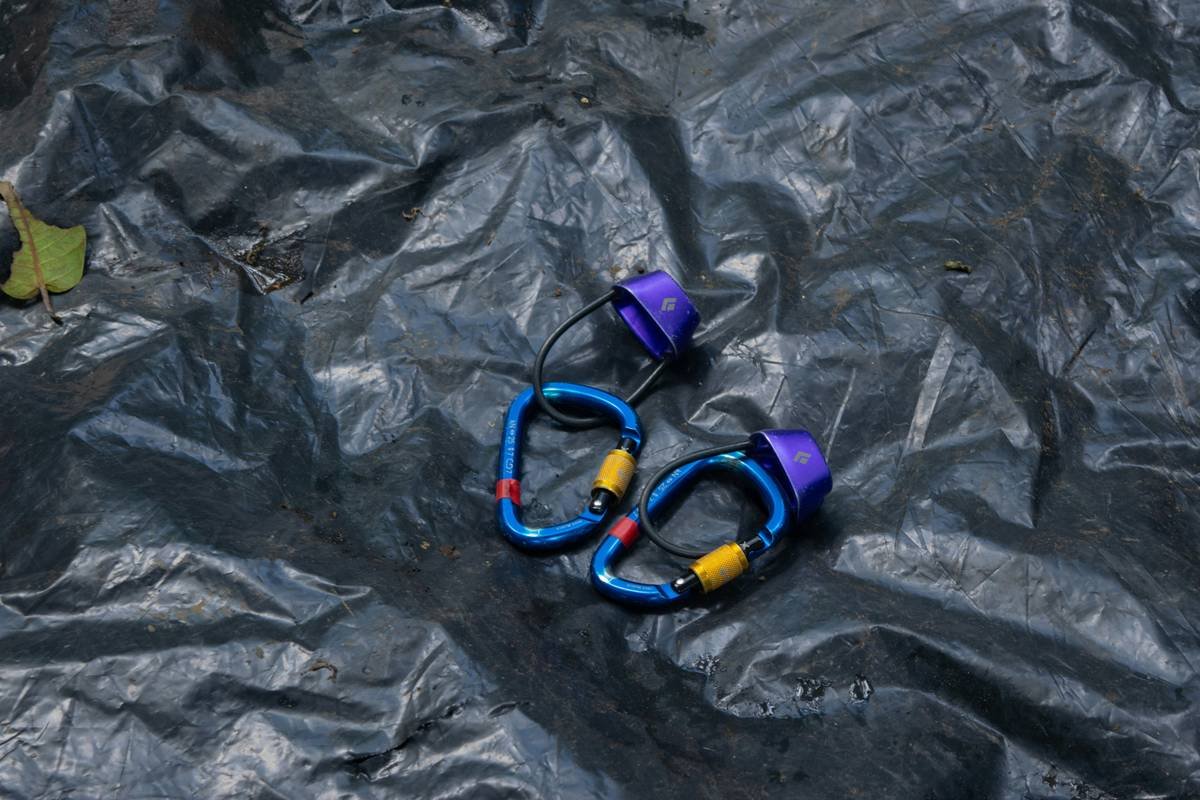
- #0.5 Tricam (Pink): Fits finger cracks (0.5–0.75 inches). Perfect for shallow pods in sandstone.
- #1 Tricam (Red): Handles hand-crack constrictions (0.75–1.25 inches). A desert workhorse.
Avoid large sizes (#2+) unless you’re tackling specific wide cracks—they’re heavy and redundant with cams.
Where do tricams go in my gear loops?
Keep them accessible but separate. I clip mine to the left-side gear loop (opposite my cams) so I’m not fumbling mid-crux. Use a rubber band or mini biner to prevent them from flipping upside-down—placement orientation matters!
When should I choose a tricam over a cam or nut?
Use a tricam when:
- The crack flares outward (cams tend to walk out).
- The placement is too shallow for a cam’s lobes to engage.
- You need passive + active security (e.g., pin scars or irregular pockets).
Pro tip: Place tricams with the stem pointing downward—they set better under load that way.
Best Practices for Packing Smart (Not Heavy)
Packing your rack isn’t about tossing everything in a bag and hoping. It’s strategic curation. Here’s how the pros do it:
- Match gear to the route: Research beta on Mountain Project or consult local guides. Indian Creek? Load up on cams and skip hexes. Yosemite chimneys? Bring big tricams (#1.5–#2).
- Limit redundancy: One #0.3 cam is fine; three is overkill. Same for tricams—two sizes suffice for most climbs.
- Weight distribution: Keep heavier items (cams, nuts) low on your harness. Light tricams can ride higher without swinging.
- Carry doubles strategically: Double up on sizes you’ll place repeatedly (e.g., #0.5 and #1 in desert cracks).
- Test placements at the crag: Before trusting a tricam on lead, practice placing and removing it on easy terrain.
Terrible Tip Disclaimer: “Just bring every piece you own—you never know!” Nope. Carrying a full double rack on a single-pitch 5.6 wastes energy, slows you down, and increases rope drag. Be intentional.
Real-World Case: How Tricams Saved My Red Rock Trip
Last spring, I was climbing Epinephrine (V, 5.9) in Red Rock Canyon with a partner who’d never placed passive gear. Halfway up the second pitch—a steep, flaring corner—we hit a section with zero cam placements. My #0.5 Camalot spun uselessly. My smallest nuts popped out with a sneeze.
Then I remembered my trusty pink tricam, dangling forgotten near my chalk bag.
I wedged it into a shallow, downward-flaring pod. Gave it a firm tug. Held solid. We ran the next 20 feet of rope off that single piece—no drama, no fall, just smooth progress.
Without that tricam? We’d have been forced into a sketchy traverse or an early rappel. Moral: sometimes the quietest piece in your rack speaks loudest when it matters.
FAQs About Climbing Gear to Pack
Do I really need tricams if I have offset cams?
Offset cams help in flared cracks, but they’re heavier and pricier. Tricams offer similar versatility at half the weight and cost—ideal for budget-conscious or weight-obsessed alpinists.
Can tricams be placed passively?
Yes! In parallel-sided cracks, they function like odd-shaped nuts. Just ensure the head is fully seated and the sling isn’t twisted.
How do I clean a stuck tricam?
Use a nut tool to lift the head while wiggling side-to-side. Never yank—tricams can bend if torqued improperly. If truly stuck, consider it a donation to the route (but try to avoid this!).
Are tricams safe for leading?
Absolutely—if placed correctly. The UIAA doesn’t certify tricams individually, but decades of real-world use (and countless ascents of classic routes) confirm their reliability when used within design limits.
What’s the lightest tricam setup for alpine routes?
One #0.5 and one #1 Tricam (total weight: ~80g) adds minimal bulk but maximum flexibility on mixed crack/face terrain.
Conclusion
Knowing what climbing gear to pack isn’t about hoarding hardware—it’s about curating a smart, route-appropriate system that keeps you safe without weighing you down. And in that equation, tricams are the underrated MVP: lightweight, versatile, and eerily effective in placements where everything else fails.
So next time you’re prepping for a desert mission or granite adventure, don’t skip the tricams. Clip them on, learn their language, and let them whisper solutions into those stubborn cracks. Your future self—dangling 200 feet up with nowhere else to go—will thank you.
Like a Tamagotchi, your rack needs daily care… and occasional weird uncles.
Sandstone holds tight,
Tricam finds the hidden bite—
Safe climb in first light.