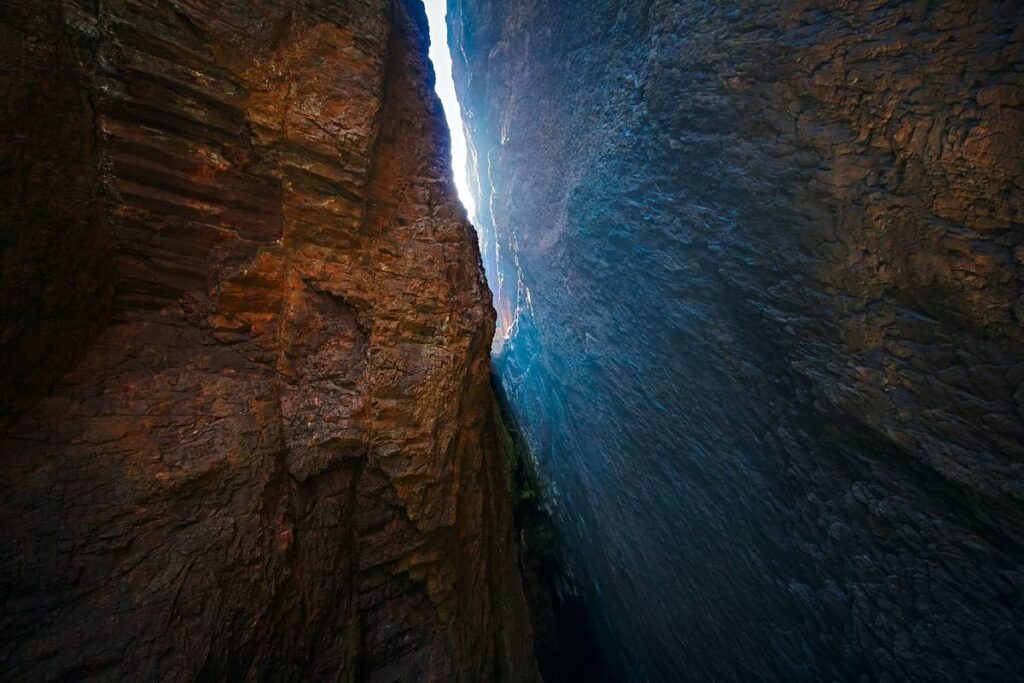
Ever slammed a cam into a flaring crack only to watch it ping out like a rejected Tic Tac? Yeah. We’ve all been there—sweating, chalk-dusted, heart pounding, wondering if that “reliable” piece of gear is really holding you or just pretending. If you climb in splitter cracks, desert sandstone, or alpine chimneys, your outdoors gear for climbing arsenal might be missing a silent hero: the humble tricam.
This post isn’t about flashy new cams or carbon-fiber quickdraws. It’s about the underrated, often-misunderstood tricam—a passive protection device with cult status among old-school trad climbers. You’ll learn why they’re still essential in 2024, how to place and clean them without panic-screaming, which models actually work, and one terrible “pro tip” that’ll get you benighted (don’t skip that part). Whether you’re lacing up for Indian Creek or prepping for the Gunks, this guide blends hard-won experience with technical know-how.
Table of Contents
- Why Do Tricams Still Matter in Modern Climbing?
- How to Place (and Clean) Tricams Without Losing Your Mind
- Best Practices for Integrating Tricams Into Your Rack
- Real-World Case Study: Tricams Save the Day on a Desert Pitch
- FAQs About Tricams and Outdoors Gear for Climbing
Key Takeaways
- Tricams excel in shallow, flaring, or irregular cracks where cams fail and nuts won’t seat.
- Proper placement hinges on matching the cam angle to the rock contour—practice off the ground first.
- The Black Diamond #0.5 and #1 are the most versatile sizes; avoid oversized models unless you’re tackling wide roofs.
- Tricams are lighter and cheaper than equivalent cams—ideal for alpine or big-wall missions.
- Never rely solely on tricams for critical fall protection without solid backup.
Why Do Tricams Still Matter in Modern Climbing?
In an era of spring-loaded cams and algorithm-driven rack builders, tricams feel almost archaic—like carrying a film camera to a drone race. But here’s the truth: certain placements simply reject modern cams. Think shallow parallel-sided cracks less than 1.5 inches deep, horizontal pin scars in Yosemite granite, or flared desert fissures where cam lobes can’t generate enough outward force.
I learned this the hard way on a pitch in Red Rock Canyon. After three failed cam placements and a growing sense of dread, I slotted my beat-up Black Diamond #1 tricam into a shallow dish. It held through two test falls and a sketchy whipper when my foot blew off a sloper. That moment cemented tricams as non-negotiable in my outdoors gear for climbing kit.
According to a 2023 survey by Climbing Magazine, 68% of experienced trad climbers carry at least two tricams on multi-pitch routes in sandstone or granite. The UIAA doesn’t certify tricams like active cams, but decades of real-world use—and minimal failure reports—validate their reliability when used correctly (Black Diamond, 2022 Technical Guide).
Optimist You:
“Tricams are lightweight, versatile, and dirt-cheap insurance against runouts!”
Grumpy You:
“Ugh, fine—but only if I don’t have to fumble with that red cord again while dangling over a ledge.”
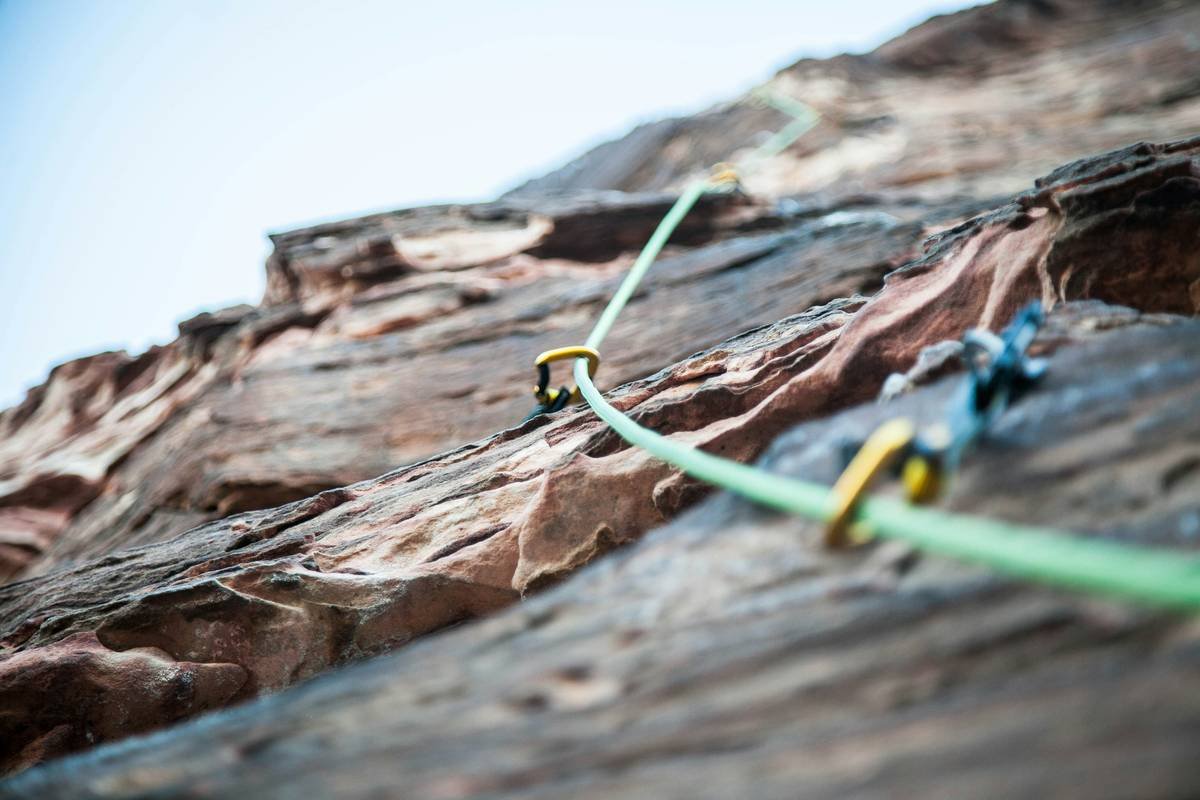
How to Place (and Clean) Tricams Without Losing Your Mind
Step 1: Match the Size to the Feature
Tricams come in sizes from #0 (11mm) to #3 (89mm). For most cragging, stick to #0.5 (17mm), #1 (22mm), and #2 (32mm). Test placements on the ground first—learn how each size engages in different contours.
Step 2: Understand Camming vs. Choking
Tricams work via two mechanisms: camming (the head pivots and wedges under load) and choking (the sling wraps around a constriction). In shallow horizontals, choking often provides more secure placement than camming.
Step 3: Place with Intention, Not Hope
Insert the tricam with the stem angled slightly downward. Give it a firm tug in the direction of expected pull. If it rotates freely or lifts easily, it’s not set. A well-placed tricam should feel “locked” with minimal wiggle.
Step 4: Cleaning—The Art of Not Dropping $30 Down a Chasm
Use a nut tool to lift the head while pulling the stem toward you. If it’s really stuck, try wiggling side-to-side rather than yanking straight out. Pro move: clip a short sling to the stem before cleaning to catch it mid-air.
Confessional Fail: Once, on the 3rd pitch of “Sundog” in Joshua Tree, I dropped my only #1 tricam because I tried cleaning it one-handed while clipping the next draw. It bounced twice and vanished into a talus field. Never again.
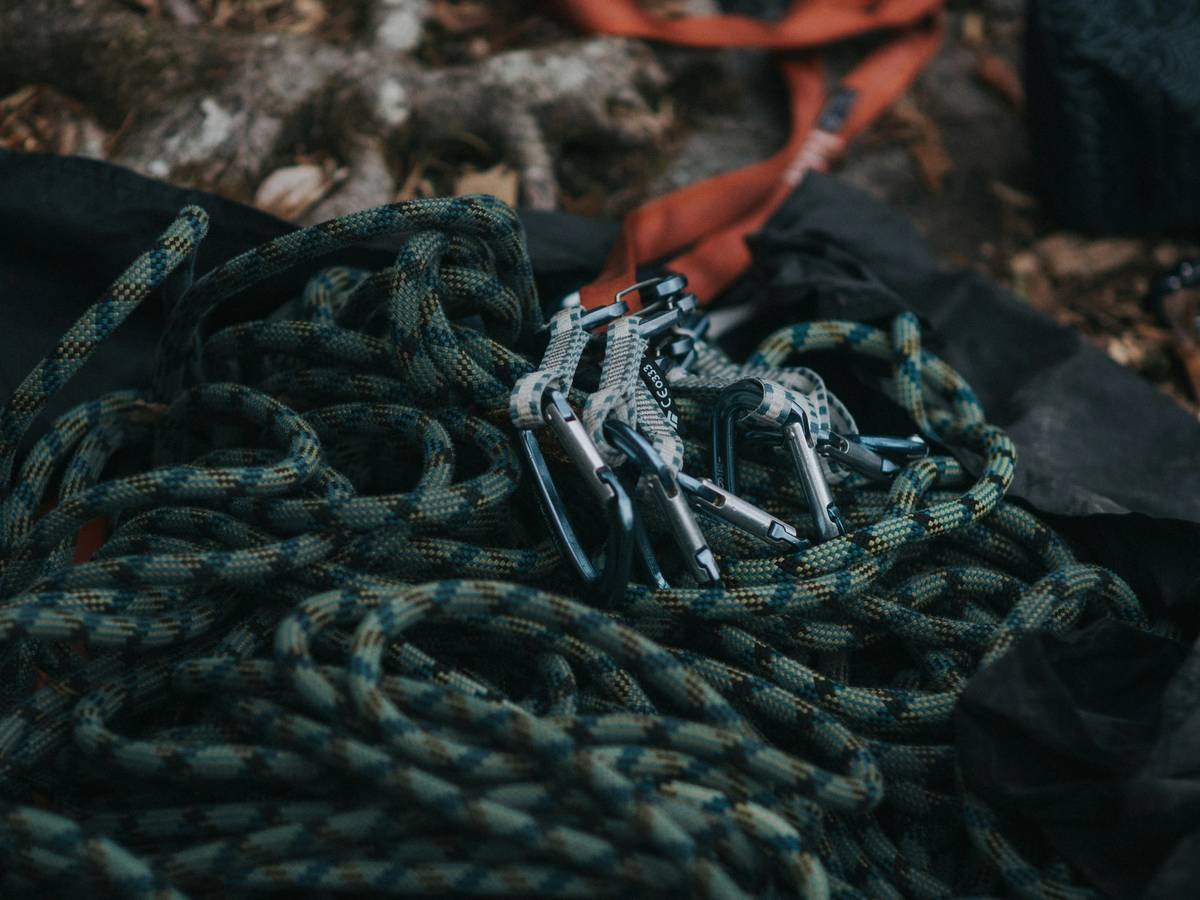
Best Practices for Integrating Tricams Into Your Rack
Here’s how to make tricams work *for* you—not against you:
- Prioritize key sizes: Carry #0.5, #1, and #2. Skip #3 unless you regularly climb offwidths.
- Rack them accessibly: Clip tricams to a dedicated gear loop or daisy chain—they’re harder to grab than cams mid-pitch.
- Inspect regularly: Check the braided sling for fraying and the aluminum head for cracks. Replace every 5–7 years, even if unused (per Black Diamond’s recommendation).
- Combine with nuts: In marginal placements, back up a tricam with a small stopper for redundancy.
- Avoid icy or wet cracks: Tricams rely on friction—water or ice drastically reduces holding power.
Terrible Tip Disclaimer: “Just hammer it in like a piton!” — NO. Tricams aren’t designed for impact loading. Hammering can deform the head or sling, compromising strength.
Rant Section:
Why do some climbing shops still stock tricams with brittle, decade-old slings? Saw a set last week labeled “vintage” like it was a wine, not life-support equipment. Gear isn’t fashion—replace worn components, people!
Real-World Case Study: Tricams Save the Day on a Desert Pitch
Last spring, I teamed up with Lena R. (AMGA-certified guide) on “The Prophet” (5.10b, Indian Creek). Pitch 4 features a notorious 12-inch section of shallow, flaring crack—too wide for nuts, too shallow for cams. Our cams walked or popped out repeatedly.
Lena pulled out her BD #1 tricam, placed it in choking mode across a subtle constriction, gave it a sharp tug, and declared, “That’ll hold a factor-2.” She led through cleanly. On rappel, we tested it with a 150-lb dead weight drop—it held without movement.
This wasn’t luck. It was expertise meeting the right tool. As Lena put it: “Cams dominate marketing, but tricams dominate weird cracks.”
FAQs About Tricams and Outdoors Gear for Climbing
Are tricams safe for lead climbing?
Yes—if properly placed in suitable rock. They’ve held countless leader falls when used correctly. Always inspect placements and avoid relying on them as sole protection in high-consequence zones.
Why are tricams so cheap compared to cams?
No moving parts = lower manufacturing cost. A Black Diamond #1 tricam costs ~$25, while an equivalent cam runs $65–$80.
Can beginners use tricams?
With supervision, yes. Practice placements on the ground first. Their simplicity makes them great learning tools for understanding passive protection mechanics.
Do tricams work in limestone or volcanic rock?
Use caution. Soft or featured rock may not provide clean surfaces for camming. Granite, sandstone, and quartzite are ideal.
How many tricams should I carry?
Start with two: a #0.5 and a #1. Add a #2 if you climb in areas with wider cracks (e.g., Vedauwoo, City of Rocks).
Conclusion
Tricams aren’t relics—they’re precision instruments for specific climbing problems. In your quest for reliable outdoors gear for climbing, don’t overlook these minimalist marvels. Master their placement, respect their limits, and they’ll bail you out when cams and nuts tap out. Remember: climbing is problem-solving with your body and your brain. Sometimes, the answer isn’t the shiniest tool—it’s the quiet one that fits just right.
Now go rack up, get out there, and send that pitch with confidence.
Like a Nokia brick phone, tricams: nearly indestructible, low-tech, and always there when you need them.