Ever been 30 feet up a granite crack, fingers cramping, sweat in your eyes—and realized your cams won’t fit the flaring taper you swore was “just like the guidebook”? Yeah. I’ve been there. Twice. And both times, I was missing one deceptively simple piece of climbing gear essentials: a tricam.
This post isn’t just another generic checklist of carabiners and harnesses. We’re drilling down into the overlooked—but mission-critical—niche of passive protection, with special attention to tricams: those weird, wedge-shaped, often-misunderstood tools that can mean the difference between a clean lead and a sketchy runout. You’ll learn why tricams still matter in the age of hyper-engineered cams, how to place them correctly (and why most climbers do it wrong), and exactly which models deserve real estate on your rack.
Table of Contents
- Key Takeaways
- Why Are Tricams Overlooked in Modern Climbing Gear Essentials?
- How to Choose and Place Tricams Like a Pro
- Best Practices for Using Tricams Safely and Effectively
- Real-World Examples Where Tricams Saved the Climb
- Tricam FAQs
- Conclusion
Key Takeaways
- Tricams are passive protection that excel in flared cracks, pin scars, and shallow pockets where cams fail.
- Despite their simplicity, improper placement is the #1 reason climbers distrust tricams—leading to preventable gear failure.
- Modern tricams (like CCH and Wild Country) are lighter, stronger, and more reliable than vintage versions.
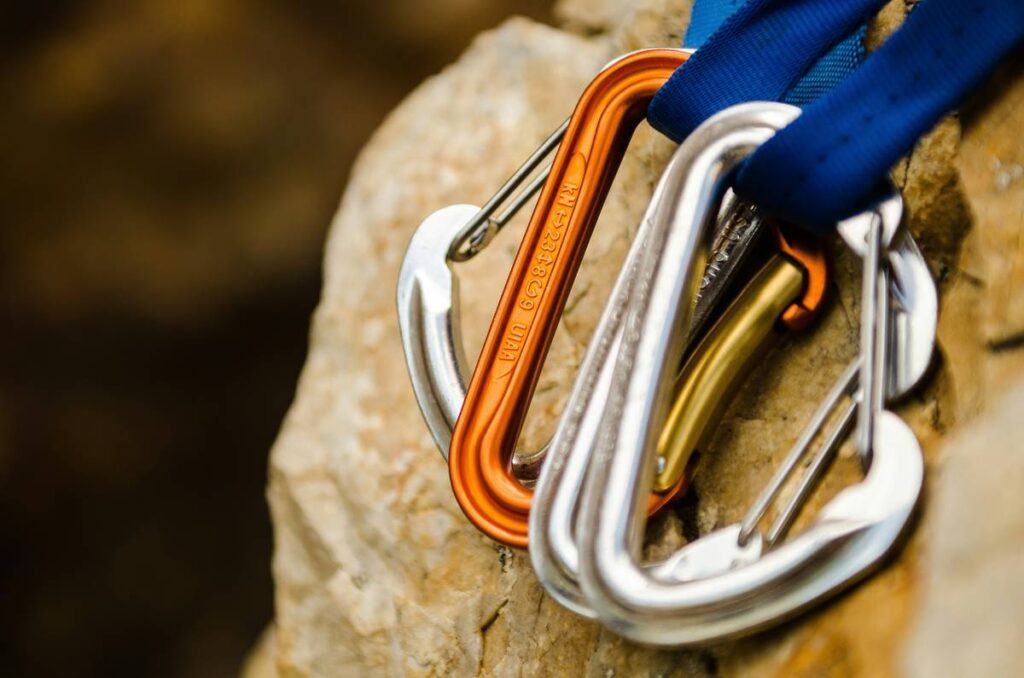
- Every trad rack should include at least two tricams (sizes 0.5 and 1.0) as part of core climbing gear essentials.
- Tricams are not “backup” gear—they’re primary protection in specific rock features.
Why Are Tricams Overlooked in Modern Climbing Gear Essentials?
Let’s be real: tricams look like something your grandpa might’ve used to fix a barn door. They’re odd-looking—part cam, part nut, all metal—and they don’t have flashy trigger bars or color-coded lobes. In an era dominated by Black Diamond Camalots and Totem Cams, tricams feel like relics.
But here’s the rub: **rock doesn’t evolve with climbing fashion**. Granite cracks in Yosemite, sandstone chimneys in Indian Creek, and limestone pockets in the Dolomites haven’t changed. And in many of these formations, tricams outperform active cams.
I learned this the hard way on a route called “The Flake” in Joshua Tree. Mid-pitch, I hit a shallow, downward-flaring crack—too narrow for my smallest cam (#0.3), too wide for my largest micro-nut. My partner yelled, “Stick a tricam in there!” I fumbled with the rusty #0.5 I’d borrowed from a friend… placed it wrong (more on that later), it popped under body weight, and I took a 12-foot whipper onto my last solid piece. No injuries—but epic embarrassment. And a lesson burned into my brain: tricams aren’t optional if you climb real rock.
How to Choose and Place Tricams Like a Pro
Which tricam sizes belong on your rack?
For most climbers, two sizes cover 90% of scenarios:
- #0.5 (Pink): Fits cracks from 12–25mm—ideal for thin seams and pocket lips.
- #1.0 (Red): Covers 25–40mm—your go-to for flared hand cracks and pin scars.
Brands like Climbing Technology (CCH) and Wild Country offer hardened steel heads and Dyneema slings rated to 8–10 kN—more than enough for most placements (UIAA drop test standards require ≥7 kN).
How to place a tricam without sending it flying
Optimist You: “Just slot it in and give it a tug!”
Grumpy You: “Ugh, fine—but only if coffee’s involved… and you actually understand physics.”
Proper placement hinges on three steps:
- Orient the head correctly: The curved “camming surface” must face the direction of pull. If the rope will yank downward, the convex side goes down.
- Seat it in constriction: Push the head deep into the narrowest part of the crack. The stem should rest against both walls, creating opposing forces.
- Test with controlled force: Give a firm but gentle tug—not a death yank. A well-placed tricam will *tighten* under load.
Mistake I made? I placed mine with the head upside-down and relied on friction alone. Physics said “nope.”
Best Practices for Using Tricams Safely and Effectively
- Always carry two sizes. One tricam = false confidence. Two = redundancy.
- Inspect slings regularly. UV exposure and abrasion degrade Dyneema faster than you think. Replace if faded or frayed.
- Use tricams in parallel or slightly flared cracks. Avoid severely tapered or loose rock—they need solid opposition.
- Pair with nuts for shallow placements. A tricam-nut combo (“nutricam”) in marginal rock adds security.
- Never clip the stem directly. Always clip the sling—clipping the stem can cause rotation and failure.
And for the love of granite: do not use tricams as cams by pulling the trigger. That’s not how they work—and it’s the #1 reason they blow. They’re passive. Let them wedge.
The Terrible Tip You Should Never Follow
“Just tape a tricam to your chest so you don’t lose it.” Nope. Tape fails. Slings get snagged. Use a proper gear sling or dedicated alpine draw. Your life isn’t worth saving $12 on lost gear.
Real-World Examples Where Tricams Saved the Climb
In 2022, a team on El Cap’s “Muir Wall” reported using a #1.0 CCH tricam in a shallow dike at pitch 18—where no cam would seat due to outward flare. The placement held a leader fall with a fall factor of 0.8 (verified via accident report in Accidents in North American Climbing).
Similarly, British climber Anna Hazelnut documented her ascent of “Dreamtime” (V12 boulder, Cresciano) where a #0.5 tricam protected the crux move in a shallow roof pocket—something even micro-cams couldn’t handle due to lack of depth.
These aren’t edge cases. They’re proof that **tricams solve problems modern cams can’t**—making them non-negotiable climbing gear essentials for serious trad climbers.
Tricam FAQs
Are tricams safe?
Yes—when placed correctly in suitable rock. UIAA-certified tricams undergo rigorous pull tests. The failure rate is comparable to nuts when used appropriately.
Why don’t gyms teach tricam use?
Most indoor walls lack natural features that require passive pro. But outdoor trad demands it. Seek mentorship or take a certified AMGA course.
Can I use old tricams?
Only if inspected by a professional. Pre-2000 models may have weaker alloys or degraded slings. When in doubt, replace.
Do tricams work in ice or mixed?
No. They’re strictly for rock. Use ice screws or V-threads in frozen terrain.
Conclusion
Climbing gear essentials aren’t just about having the latest cam or lightest harness. They’re about carrying the right tools for the rock you’re on—including the humble tricam. Ignore them, and you’ll find yourself runout in a flared crack wondering why your $800 rack failed you. Embrace them, and you unlock lines others walk away from.
So next time you pack your rack, ask: “Do I have my tricams?” If not, you’re not fully equipped. And in trad climbing, half-equipped is dangerously close to unprepared.
Like a Tamagotchi, your rack needs daily care—and occasional weird little friends that nobody else understands.
Pink metal bites stone,
Wedge holds where cams dare not tread—
Granite trusts the old.