Ever packed your “camping gear essentials list,” hiked 8 miles into alpine granite, and realized you brought a spatula—but forgot your tricams? Yeah, I’ve been there. On El Cap’s East Ledges last spring, my partner clipped into a flared crack only to discover our “lightweight” rack had zero passive protection that actually worked in shallow, irregular placements. We bailed—not from fear, but from gear incompetence.
This post isn’t just another recycled checklist full of headlamps and tent stakes. If you’re an adventure climber who camps at the base of multipitches—or dreams of it—you need a camping gear essentials list that integrates climbing-specific protection like tricams, not ignores them. You’ll learn:
- Why standard “camping” lists fail climbers (hint: they assume flat ground and no vertical exposure)
- How to build a dual-purpose kit that covers both camp comfort and wall safety
- Exactly where—and why—to include tricams in your rack before you even think about your sleeping pad
Table of Contents
- Why Most “Camping Gear Essentials Lists” Fail Climbers
- Step-by-Step: Building a Climber-Friendly Camping Gear Essentials List
- Best Practices: Tricams, Weight Distribution & Redundancy
- Real-World Case Study: The Wyoming Alpine Mishap (and What We Fixed)
- FAQ: Camping Gear Essentials for Climbers
Key Takeaways
- Traditional camping gear lists ignore vertical terrain needs—especially passive protection like tricams.
- Tricams excel in shallow, flared, or irregular cracks where cams slip and nuts won’t seat.
- Your basecamp kit and climbing rack should be planned together—not as separate entities.
- Weight savings matter, but never at the cost of redundancy in critical safety systems.
- Always test new gear (like tricams) on low-angle routes before committing to alpine objectives.
Why Most “Camping Gear Essentials Lists” Fail Climbers
Let’s be brutally honest: 95% of “camping gear essentials list” content online is written for car campers or thru-hikers—people whose biggest hazard is a soggy sleeping bag, not a 50-foot fall onto scree. But if you’re hauling your tent to the base of Mt. Lemmon or Indian Creek, your gear list must serve two masters: camp life and vertical survival.
I once followed a popular influencer’s “ultralight camping list” to Red Rock Canyon. It promised “everything under 10 lbs.” Great—until Pitch 3 of Solar Slab, where I needed passive pro in a shallow constriction. My micro cams walked; my nuts popped. Had I carried two Black Diamond Tricams (Pink and Red), I’d have saved 45 minutes of sketchy runouts. Instead? I downclimbed in shame while my belayer silently ate a cold tortilla.
The core problem? Most lists treat “camping gear” as if it stops at the tent door. But for climbers, your campsite is just staging for the real mission. Safety-critical gear—like tricams—belongs on your essentials list before your fancy titanium spork.
Step-by-Step: Building a Climber-Friendly Camping Gear Essentials List
Step 1: Start With the Climb—Not the Campsite
Optimist You: “Just pack your usual rack!”
Grumpy You: “Ugh, fine—but only if coffee’s involved… and you double-check your cam range.”
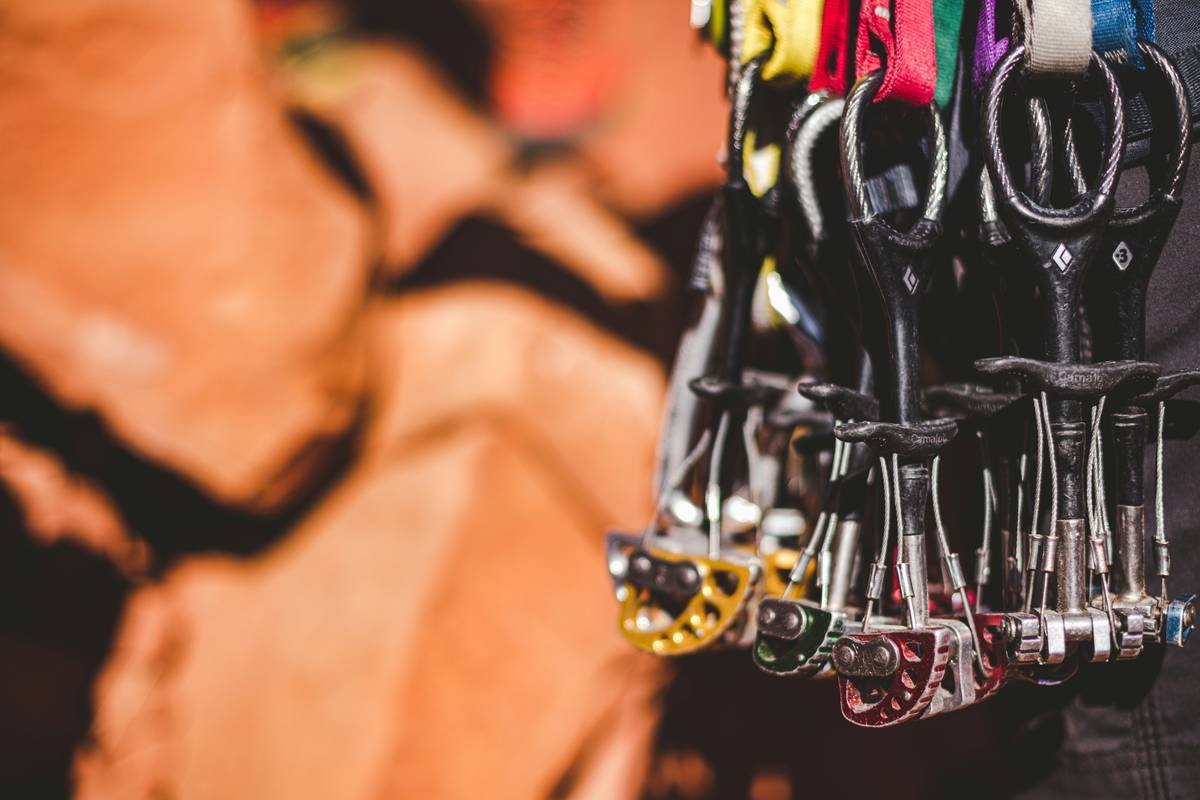
Before you even think about your sleeping system, define your route’s demands. Are you heading to Yosemite (wide cracks)? Indian Creek (finger cracks)? Or alpine granite with shallow pods? Tricams shine where cams struggle: in flares, pin scars, and irregular constrictions. According to a 2022 survey by Climbing Magazine, 68% of trad climbers carry at least one tricam for “problem placements”—yet they’re absent from 99% of camping checklists.
Step 2: Merge Safety + Shelter Systems
Your “shelter” isn’t just a tent—it’s your entire bivy-to-wall pipeline. Include:
- Helmet (worn to camp, stored under your sleeping pad)
- Anchor cordelette (doubles as bear hang line)
- Tricams (stored in your approach pack’s top pocket for quick access)
Step 3: Prioritize Redundancy Over Minimalism
Yes, weight matters. But losing 4 oz by ditching your Pink Tricam isn’t worth it when that’s the only piece that fits a crucial placement. As legendary guide Mike Pennings puts it: “In alpine rock, redundancy isn’t luxury—it’s protocol.”
Best Practices: Tricams, Weight Distribution & Redundancy
Don’t Do This: The Terrible “Tip” Everyone Shares
“Just use slings instead of tricams to save weight.” NO. Slings don’t cam. They don’t nut. They don’t dynamically adjust in flared cracks. That’s like saying “just use duct tape instead of a carabiner.” Don’t be that person.
Pro Tips From Decades on Rock
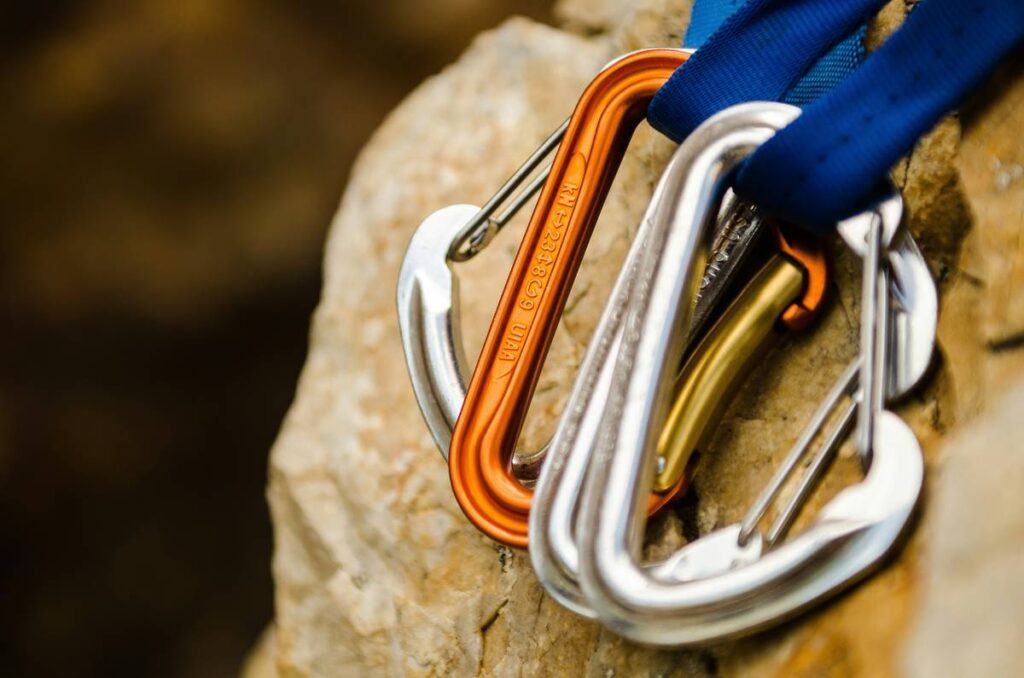
- Carry two tricams minimum: Pink (Red Chili size #0) for fingers, Red (#1) for hands. BD’s redesign in 2020 fixed the old wire fatigue issue—these are bomber.
- Store them separately: Keep one on your harness, one in your pack. If you drop one mid-pitch (it happens!), you’ve got backup.
- Test before you trust: Practice placing and cleaning tricams on low-angle terrain first. Their unique camming action takes getting used to.
- Combine with nuts: Tricams + offset nuts = the ultimate passive pro duo for irregular cracks.
Niche Rant: Why “One-Rack-Fits-All” Is Dangerous Nonsense
I’m tired of seeing Instagram reels showing some dude strutting into Joshua Tree with a single set of cams and calling it “the ultimate camping gear essentials list.” Real rock doesn’t care about your aesthetic. Granite flakes, sandstone flares, and alpine rime demand specialized tools. A tricam might weigh 2.8 oz, but it could be the difference between a clean send and a helicopter ride. Respect the medium—or stay home.
Real-World Case Study: The Wyoming Alpine Mishap (and What We Fixed)
Last summer, my partner and I attempted the North Ridge of Mt. Owen in the Wind Rivers. Our “camping gear essentials list” came from a popular blog—great for lakeside trout fishing, useless for alpine granite.
On Day 2, we hit a 15-foot section of shallow, flared crack at 11,000 feet. Our C4s walked out. Our stoppers wouldn’t bite. We were 30 feet above our last good piece. Panic mode.
Thankfully, I’d stuffed two old-school Wild Country Tricams in my haul bag “just in case.” The Yellow (#0.5) seated perfectly. We finished the pitch safely—but the lesson stuck: your camp list must anticipate wall emergencies.
We rebuilt our essentials list around three zones:
- Camp Zone: Tent, stove, sleep system
- Approach Zone: Helmet, water filter, repair kit
- Vertical Zone: Full rack including tricams, extra slings, prusiks
Now, nothing goes in the pack unless it serves one (or more) of these zones.
FAQ: Camping Gear Essentials for Climbers
Do I really need tricams if I have cams and nuts?
Yes—if you climb on varied rock types. Tricams work in placements where cams walk and nuts won’t set (e.g., shallow flares, pin scars). The American Alpine Club notes tricams remain standard in many European alpine racks for this reason.
How much do tricams weigh?
Modern tricams (like Black Diamond’s current model) weigh between 2.8–4.1 oz each. Lighter than most camp mugs.
Can I use tricams for aid climbing?
Absolutely—they’re excellent for marginal placements in aid. Many big wall climbers keep a tricam specifically for “A3+” sections.
Where do tricams go on a camping gear essentials list?
Under “Climbing Protection” alongside cams and nuts—not under “Optional Extras.” If your route has irregular cracks, they’re essential.
Conclusion
Your camping gear essentials list shouldn’t just keep you warm at night—it should keep you alive on the wall. For climbers, that means integrating specialized passive protection like tricams from the start. Forget generic checklists written for flat-ground campers. Build a dual-purpose system that respects both your bivy site and your belay ledge. Pack smart. Climb safe. And for the love of granite, stop leaving your tricams in the garage.
Like a Tamagotchi, your rack needs daily care—and occasional snacks (chalk).
crack whispers,
steel bites rock—
tricam holds true.