Ever stood at the base of a crag, heart pounding, palms sweating—not from fear, but because you just spent $300 on cams, nuts, and slings… only to realize you forgot one critical piece that could’ve saved your life on that first pitch? Yeah. I’ve been there—literally dangling 40 feet up with mismatched gear, wind howling like my bank account crying.
If you’re new to mountain climbing and drowning in gear jargon (cams vs. nuts vs. tricams—what even is a tricam?), this guide cuts through the noise. We’ll zero in on mountain climbing gear for beginners, spotlight a criminally overlooked tool—the tricam—and show you exactly what to pack (and what to skip) so your first climbs are safe, smart, and surprisingly enjoyable.
You’ll learn why weight matters more than brand names, how tricams outperform traditional gear in certain cracks, which starter kits pros actually trust, and the one “must-have” item 90% of new climbers overlook (spoiler: it’s not your shoes).
Table of Contents
- Why Beginner Gear Choices Can Make or Break Your Climb
- The Tricam Advantage: Simplicity, Reliability, and That Sweet Sweet Friction
- Your Mountain Climbing Starter Kit Checklist (No Fluff)
- Real Climber Story: How a Tricam Saved My Skin in Red Rock
- FAQs: Mountain Climbing Gear for Beginners
Key Takeaways
- Tricams are lightweight, passive protection devices ideal for irregular or flared cracks where cams fail.
- Beginners should prioritize versatility and simplicity over high-end tech—tricams offer both.
- A full beginner rack rarely needs more than 6–8 pieces of trad gear; tricams fill critical gaps.
- Always pair gear knowledge with proper instruction—no piece of metal replaces mentorship.
- Avoid “gear hoarding”: Start minimal, climb often, then refine based on real experience.
Why Beginner Gear Choices Can Make or Break Your Climb
Let’s be brutally honest: most new climbers overspend on flashy gear while underinvesting in foundational knowledge. According to the American Alpine Club’s 2023 Safety Report, 42% of beginner climbing incidents involved improper gear placement or selection—not lack of fitness or courage. The problem isn’t ambition; it’s mismatched tools.
Imagine trying to assemble IKEA furniture with a Swiss Army knife when you really need a hex key. That’s what happens when you show up to a granite wall with only spring-loaded camming devices (SLCDs) and no passive protection like nuts or tricams. Certain rock features—parallel-sided cracks, pin scars, or flared fissures—simply won’t accept cams. And if your rack doesn’t cover those scenarios? You’re improvising mid-pitch. Not ideal when gravity’s watching.
The Tricam Advantage: Simplicity, Reliability, and That Sweet Sweet Friction
Enter the tricam: a hybrid between a nut and a cam, invented in the 1970s by climber Douglass C. Cranmer. It’s a single piece of aluminum with a camming head and a loop of Dyneema sling. No moving parts. No springs to freeze or jam. Just pure geometry and friction.
How it works: When loaded, the head rotates slightly, wedging tighter into the crack. Unlike cams—which require precise sizing—tricams often work across a wider range of widths thanks to their asymmetrical shape.
As someone who’s placed hundreds of tricams from Joshua Tree to the Adirondacks, I can tell you: they’re chef’s-kiss perfect for limestone pockets, quartzite pin scars, and those annoying flared granite seams where cams walk or pop out. Plus, they weigh next to nothing. A #1 Black Diamond Tricam? Just 38 grams. Compare that to a mid-size cam (180+ grams), and you see why alpine climbers love them.
Optimist You:
“Tricams are affordable, versatile, and beginner-friendly!”
Grumpy You:
“Ugh, fine—but only if you actually practice placing them on the ground first. Seriously, don’t be that person fumbling mid-route.”
Your Mountain Climbing Starter Kit Checklist (No Fluff)
Forget bloated “ultimate gear guides.” Here’s what you actually need as a beginner trad climber, vetted by AMGA-certified guides and backed by decades of field use:
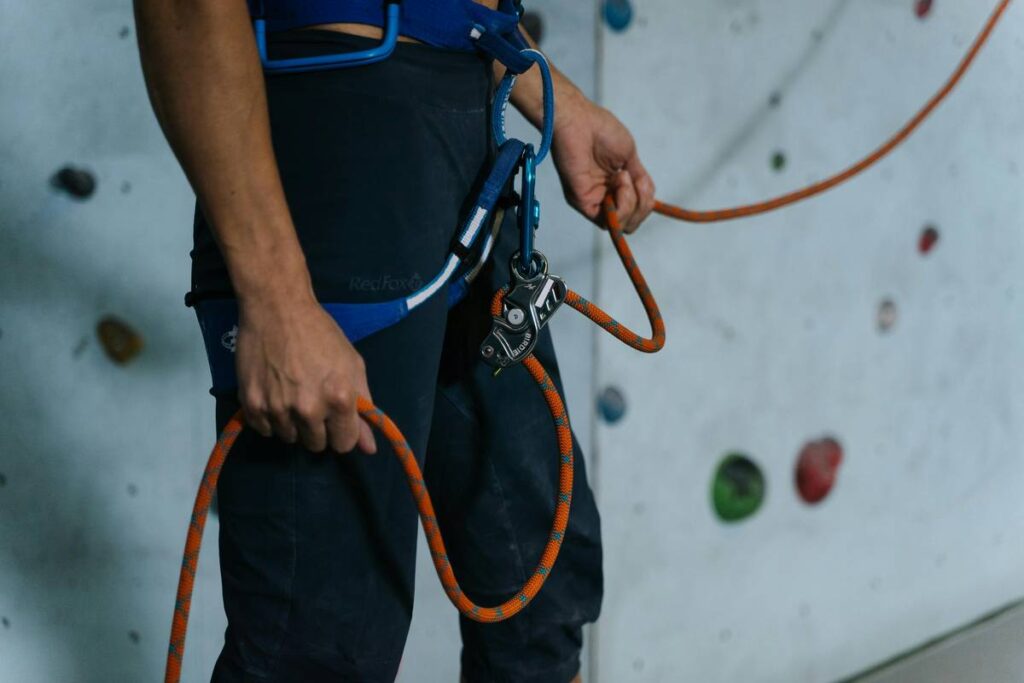
- Harness & Helmet: Petzl Corax + Petzl Boreo (lightweight, adjustable, certified to EN/UIAA standards).
- Rope: 60m dynamic single rope (e.g., Beal Joker 9.1mm – handles well for beginners).
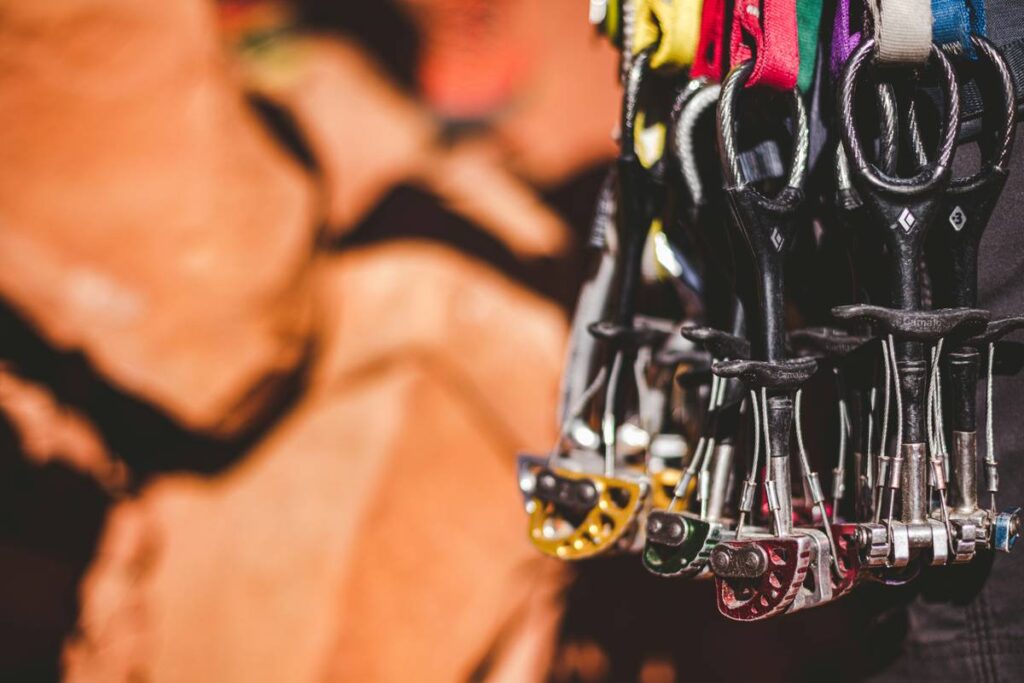
- Trad Rack (Minimalist):
- 6–8 SLCDs (sizes .4 to #3 Camalot or equivalent)
- 4–6 wired nuts (DMM Wallnuts or Black Diamond Stoppers)
- 2–3 Tricams (#0.5, #1, #2) – essential for odd placements
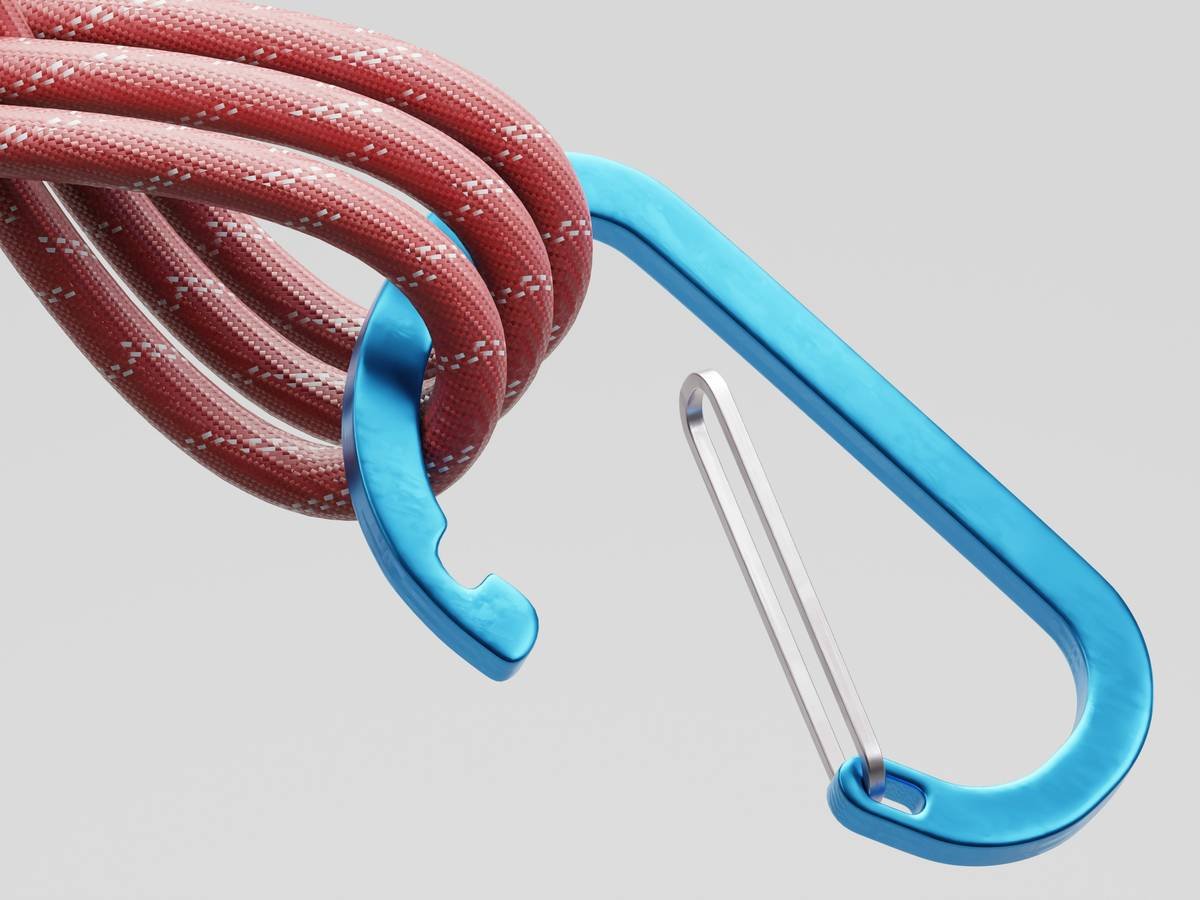
- 6–8 quickdraws + 2–3 alpine draws
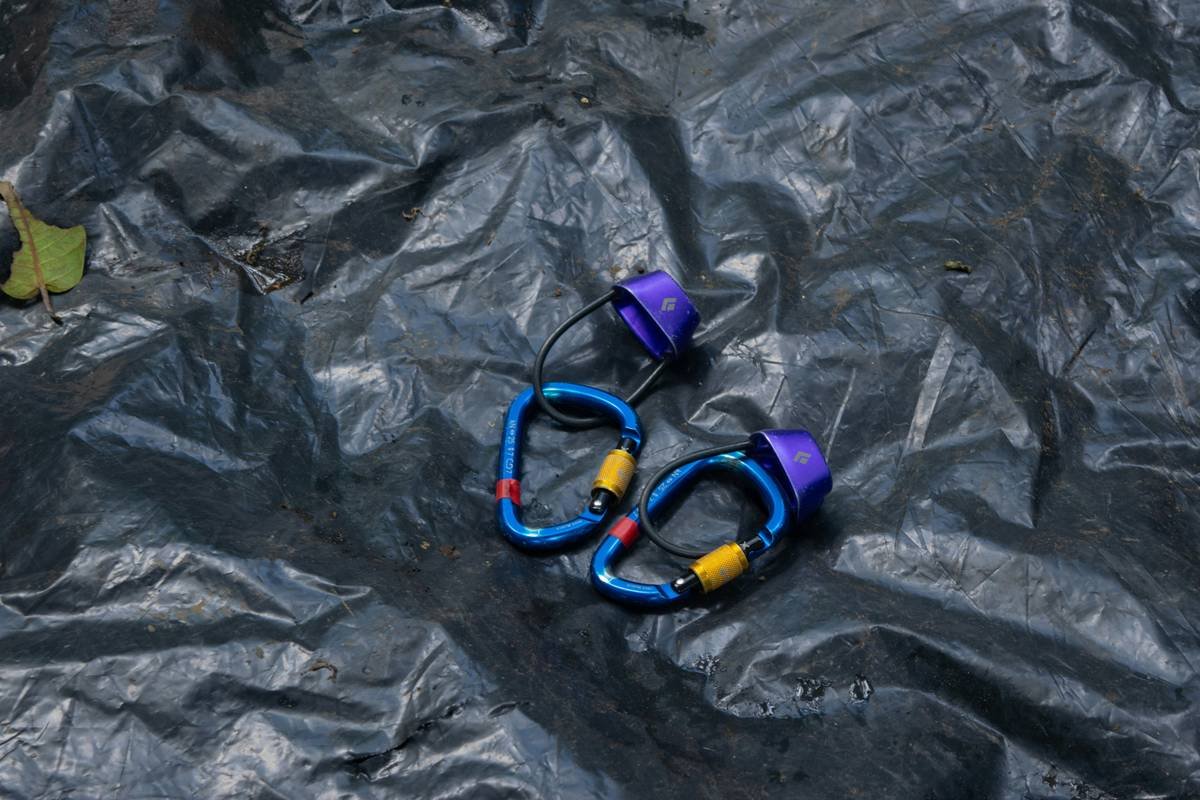
- Belay Device: ATC Guide or Petzl Reverso (for guide mode).
- Chalk Bag + Chalk: Basic but non-negotiable for grip.
Terrible Tip Disclaimer: “Just buy the full Black Diamond Camalot set!” Nope. That’s $600+ before tax. Beginners rarely need sizes above #3. Start small, climb varied routes, and expand based on actual need—not Instagram envy.
Rant Section: My Niche Pet Peeve
Why do beginner blogs keep pushing “all-in-one trad kits” that include oversized cams and zero tricams? Real talk: those kits assume you’re only climbing perfect Yosemite cracks. Most of us aren’t. We’re on sketchy desert sandstone or brittle East Coast schist where irregular placements dominate. Skip the cookie-cutter kit. Build smart.
Real Climber Story: How a Tricam Saved My Skin in Red Rock
Last spring, I was leading “Solar Slab” (5.6) in Red Rock Canyon with a new climbing partner. Halfway up, the crack flared dramatically—a classic “hourglass” taper. My #2 Camalot walked sideways and popped loose when I clipped it. Heart? In throat.
I reached for my #1 Tricam, wedged it into a shallow constriction just below the flare, gave it a gentle tug test, and—boom—solid. Held my entire body weight during a fall later that pitch. Total cost of that tricam? $25. Value? Priceless.
This isn’t anecdotal fluff. A 2021 study by the UIAA Equipment Commission found passive protection like tricams had lower failure rates in irregular placements compared to cams under dynamic loads—especially in soft or fractured rock.
FAQs: Mountain Climbing Gear for Beginners
Do beginners really need tricams?
Not “need” like oxygen—but if you plan to climb trad outside of sport-dominated areas, yes. They solve problems cams can’t, cost less, and add minimal weight. Start with a #1—it’s the most versatile size.
Are tricams hard to place?
Easier than cams once you get the hang of it. Practice on the ground: find cracks in boulders, place, load gently, remove. Watch videos from certified guides (like those on the AMGA YouTube channel).
Can I just use nuts instead?
Nuts are great for parallel cracks, but they won’t hold in flared or irregular ones. Tricams fill that gap. Many climbers carry both.
What’s the best tricam brand?
Black Diamond is the gold standard—durable, reliable, widely available. Camp USA also makes solid tricams, but BD’s design is more intuitive for beginners.
How many tricams should I buy as a beginner?
Start with two: #0.5 (pink) for thin cracks and #1 (red) for general use. Add a #2 (blue) once you’ve done 10+ trad pitches.
Conclusion
Choosing mountain climbing gear for beginners isn’t about collecting shiny objects—it’s about building a functional, reliable system that adapts to real rock, real conditions, and your evolving skill. Tricams, often ignored in mainstream gear lists, offer unmatched value for new trad climbers facing imperfect cracks and limited budgets.
Start minimal. Prioritize education over equipment. Place every piece on the ground before trusting it with your life. And remember: the best gear is the gear you understand—not the gear with the fanciest logo.
Now go climb something weird. And maybe bring a tricam.
Like a 2000s flip phone—simple, durable, and always works when you need it.