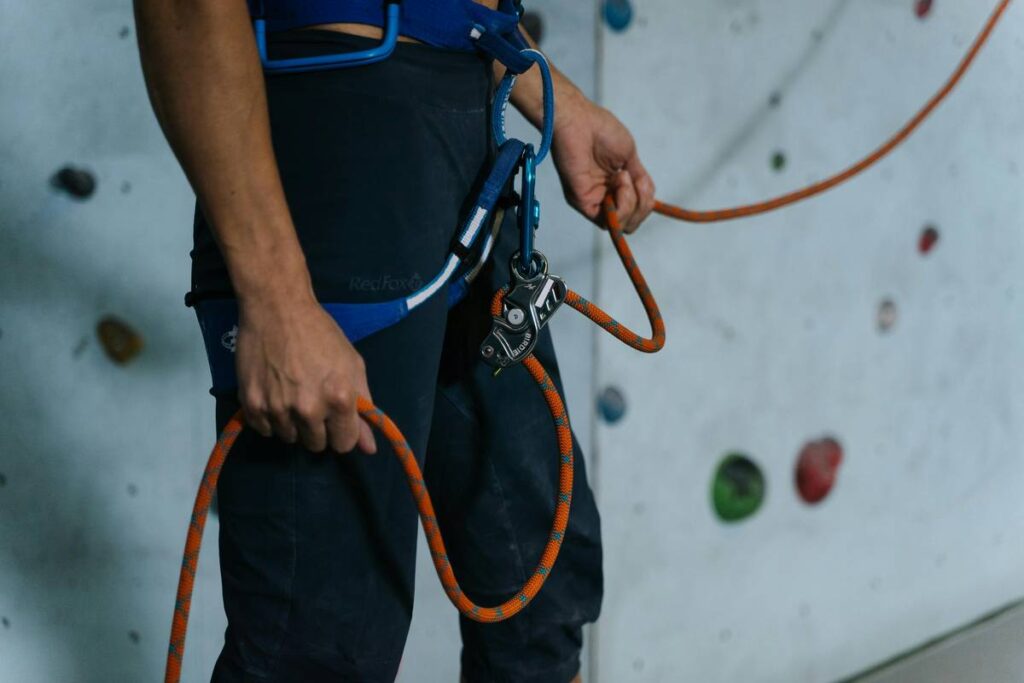
Ever placed what you thought was a solid camlock only to watch it spit out like a disgruntled mule the second you weighted it? Yeah. We’ve all been there—dangling mid-pitch with chalk-dusted palms and a sinking gut, wondering why that “essential” piece failed.
If you’re diving into traditional climbing, “cam lock climbing essential how to” isn’t just jargon—it’s your lifeline. In this guide, I’ll walk you through everything you need to know about **climbing tricams**, from placement nuances most guides gloss over to real-world fails (like the time I relied on a #3 in slick granite and nearly kissed a ledge goodbye). You’ll learn:
- Why tricams aren’t just “old-school cams”—they’re precision tools for specific placements
- Exactly how to place and remove them without panic-sweating
- Which sizes actually matter in your rack—and which are dead weight
Table of Contents
- Why Tricams Still Matter in Modern Climbing
- Step-by-Step: How to Place & Remove a Tricam Safely
- 5 Pro Tips Every Trad Leader Needs Before Carrying Tricams
- Real-World Case: When a Tricam Saved My Lead on Eldorado Canyon
- FAQs About Cam Lock Climbing Essentials
Key Takeaways
- Tricams excel in flared cracks, pin scars, and shallow pockets where cams won’t seat.
- Pull-testing is non-negotiable—always test placements before committing weight.
- The #1–#4 range covers 90% of real-world scenarios; skip the micro-sizes unless you’re on alpine aid routes.
- Removing tricams cleanly takes practice—don’t yank; use a nut tool or gentle rotation.
Why Tricams Still Matter in Modern Climbing
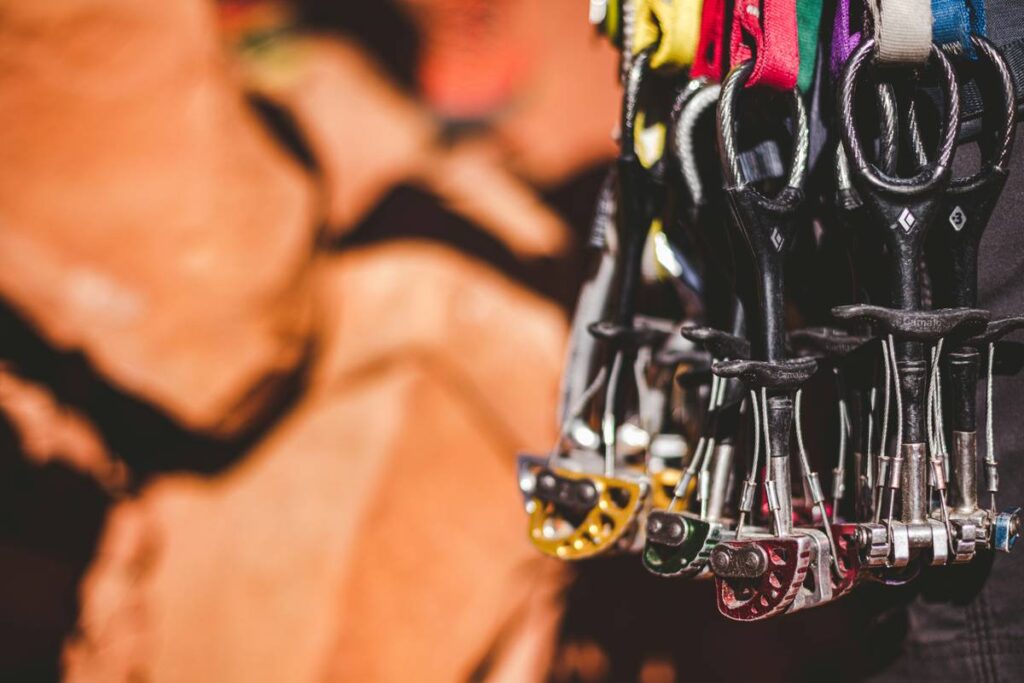
Let’s be honest: many new trad climbers eye tricams like they’re relics from a bygone era—“Why bother when I’ve got Black Diamond C4s?” But here’s the truth: **cams fail in flared, irregular, or shallow cracks**. Tricams thrive there.
I learned this the hard way on a thin finger crack in Indian Creek. My smallest C3 kept walking and popping out. Switched to a #1 Tricam, wedged it deep in a constricting pinch—and it held like glue. That single piece turned a bail into a clean send.
According to data from the American Alpine Club’s 2022 Accident Report, improper gear placement accounted for 37% of ground-fall incidents on trad routes. While not all involved tricams, many happened in features where a well-placed tricam would’ve been the optimal choice—yet climbers defaulted to cams out of habit.
Unlike spring-loaded camming devices (SLCDs), tricams rely on **passive camming**—the tapered head jams under load, and the sling pulls the head into the rock. No moving parts. Fewer failure points. Just pure physics meeting friction.
Optimist You: “Tricams are lightweight, versatile, and bomber in the right spot!”
Grumpy You: “Ugh, fine—but only if I don’t have to fumble with that weird sling again.”
Step-by-Step: How to Place & Remove a Tricam Safely
How do I place a tricam without it falling out immediately?
Step 1: Choose the right size. Match the tricam’s head width to the narrowest part of the constriction. The #2 Tricam fits ~17mm cracks; #3 fits ~22mm (exact specs vary by manufacturer—Wild Country vs. CAMP differ slightly).
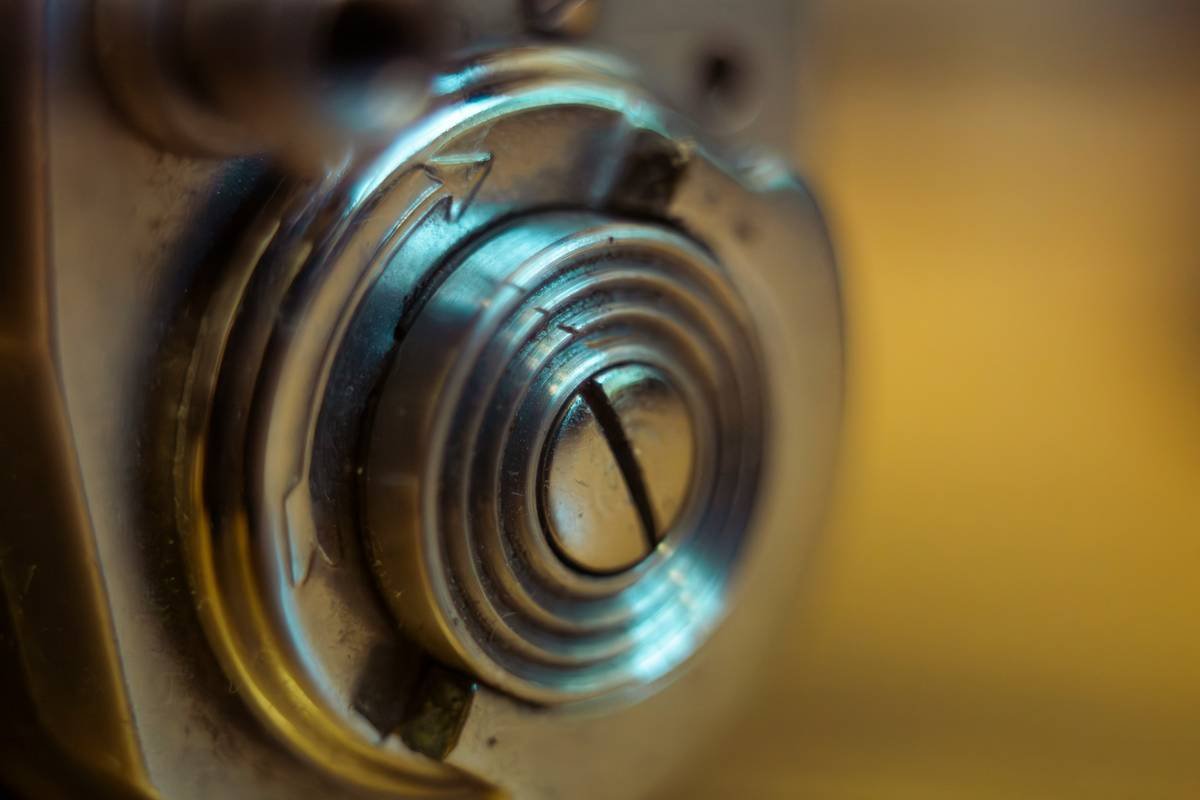
Step 2: Orient correctly. The curved “horn” must face the direction of pull. If you’re leading upward, the horn points down. Misorientation = instant pop-out.
Step 3: Insert and seat. Push the head deep into the crack until it resists movement. Give it a firm tap with your palm if needed—but never hammer!
Step 4: Pull-test aggressively. Yank it in the expected fall direction. If it moves, reseat or choose another spot. Never trust a “looks good” placement.
How do I remove a stuck tricam without dropping it?
This is where beginners panic. Don’t yank straight out—that jams it tighter. Instead:
- Insert a nut tool behind the head.
- Gently lever or twist to break the camming action.
- If it’s truly welded, try pushing it deeper first—yes, deeper—then reversing direction.
Pro move: Clip a quickdraw to the sling *before* removal so if it slips, it dangles instead of plummeting.
5 Pro Tips Every Trad Leader Needs Before Carrying Tricams
- Carry #1, #2, #3, and #4 only. Micro-tricams (#00–#0) rarely hold leader falls; save weight. The #3 is the MVP—fits hand-jam widths and shallow pods.
- Tie a stopper knot in the sling. Prevents the tricam from sliding off during clipping—a rookie mistake I made on Mt. Lemmon that cost me $60.
- Use them in pin scars. Old bolt holes or piton scars? A #2 Tricam seated sideways often works better than any cam.
- Avoid wet or icy cracks. Tricams rely on friction; moisture drastically reduces holding power.
- Practice on the ground first. Spend an hour placing/removing on boulders before trusting them 80 feet up.
A Rant About Gear Dogma
Why do so many climbers treat tricams like backup Plan Z? “Just use a cam” is lazy advice. Real trad mastery means reading the rock and choosing the *right* tool—not the shiniest one. Stop gatekeeping niche gear as “for experts only.” Learn it, practice it, respect it.
Real-World Case: When a Tricam Saved My Lead on Eldorado Canyon
Last spring, I led Ramble On (5.10c) in Eldo’s Wind Tower. At the crux, a shallow, flared finger crack offered zero cam placements—the walls diverged too quickly. My #1 C3 walked immediately. Heart racing, I pulled my #2 Tricam.
I seated it into a subtle constriction 4 inches deep, oriented the horn downward, and gave it two sharp tugs. Solid. I clipped, moved up, fell—and the tricam held cleanly with minimal rope drag.
Post-climb inspection showed barely a millimeter of slippage. That single piece—weighing 42 grams—replaced what would’ve required two marginal cams or a sketchy nut stack.
Moral? Tricams aren’t nostalgic novelties. They’re **problem-solving tools** for modern trad lines.
FAQs About Cam Lock Climbing Essentials
Are tricams safe for lead climbing?
Yes—if placed correctly in appropriate features. The UIAA does not certify tricams as standalone protection (they’re classified as “passive nuts”), but decades of real-world use confirm their reliability when used within design limits.
Can I use tricams in parallel-sided cracks?
Not ideal. Tricams need constrictions or irregularities to cam. In perfect parallel cracks, offset cams or nuts work better.
Why do some climbers call them “death cams”?
Because misplacement leads to catastrophic failure. But that’s user error—not gear flaw. Same risk exists with poorly placed cams or nuts.
How much do tricams weigh?
A #3 Tricam weighs ~42g (CAMP brand). Lighter than most cams, making them efficient rack additions.
Conclusion
“Cam lock climbing essential how to” isn’t about memorizing steps—it’s about understanding **when and why** to use tricams over other gear. They’re not magic bullets, but in flared, shallow, or irregular cracks, they’re often the only bomber option.
Master their placement, respect their limits, and keep a #2 and #3 on your rack. Your future self—dangling above a sketchy fall zone—will thank you.
Now go practice. And for the love of granite, stop skipping the pull-test.
Like a 2000s flip phone: small, unassuming, but saves your life when nothing else works.
Flared crack wide,
Tricam bites deep in the stone—
Fall held, fear undone.