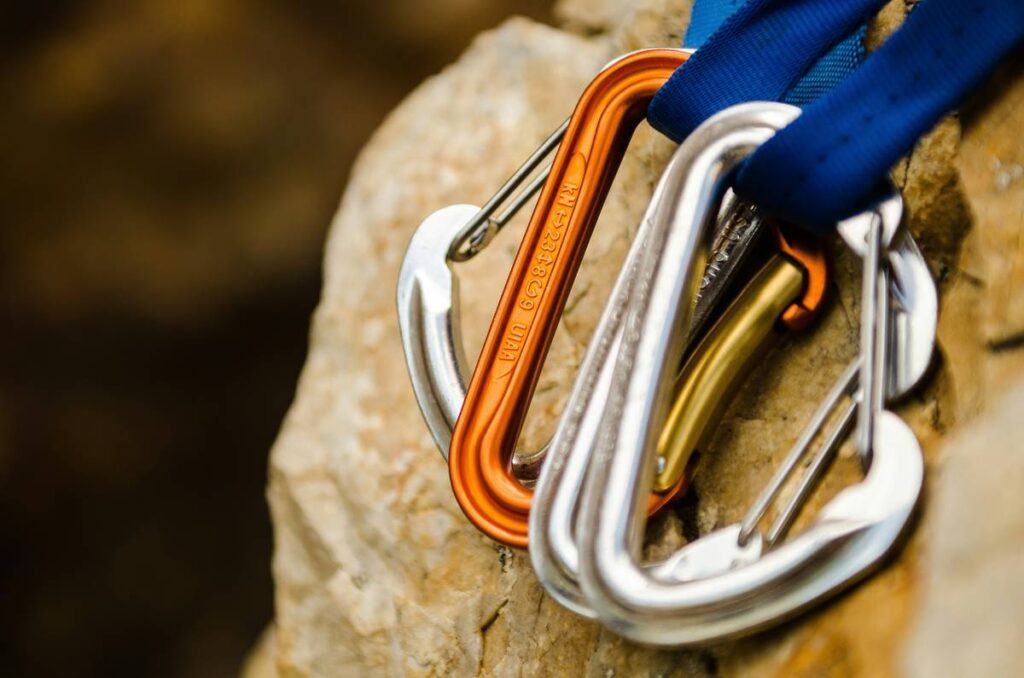
Ever been 30 feet up a thin crack, your fingers screaming, sweat dripping into your eyes—and realize your cams just… don’t fit? Yeah. Been there. Done that. Bought the overpriced rescue coffee afterward.
If you’ve spent more than five minutes in traditional climbing circles, you’ve probably heard whispers about “tricams”—those weird, wedge-shaped oddballs that look like they were forged in a blacksmith’s fever dream. But here’s the kicker: most climbers either misuse them or ignore them entirely. And that’s a massive mistake on gear-intensive routes.
In this guide, we’re diving deep into the world of triple cam climbing essentials—no fluff, no marketing jargon. Just hard-won lessons from granite slabs, desert cracks, and icy alpine corners. You’ll learn:
- Why tricams outperform cams (and nuts) in specific placements
- Exactly how to place, test, and clean them without panic-sweating
- Which sizes belong on your harness—and which are dead weight
- Real-world examples from Indian Creek, Eldo, and the Gunks
Whether you’re prepping for your first multipitch or refining your alpine rack, this isn’t just gear talk—it’s survival strategy.
Table of Contents
- Key Takeaways
- Why Do Tricams Still Matter in 2024?
- How to Place, Test & Clean Tricams Like a Pro
- Best Practices for Tricam Mastery
- Real-World Case Studies: When Tricams Save the Day
- FAQs About Triple Cam Climbing Essentials
- Conclusion
Key Takeaways
- Tricams excel in shallow, flared, or irregular cracks where cams walk or fail
- Correct placement requires understanding passive vs. active modes—most climbers only use one
- Sizes #0–#3 cover 95% of placements; avoid over-racking
- Always test placements with body weight before committing
- They’re lighter, cheaper, and more durable than cams for specific scenarios
Why Do Tricams Still Matter in 2024?
Let’s be real: modern cams like Black Diamond’s Camalots or Totem Cams are engineering marvels. But even the best technology has blind spots—and that’s where tricams shine.
Developed in the late 1970s by Doug Phillips (yes, that Doug Phillips—the same innovator behind spring-loaded camming devices), tricams combine passive and active protection principles. Unlike cams that rely solely on outward pressure from lobes, tricams wedge into constrictions using their anodized aluminum head and steel cable sling. This dual nature makes them uniquely reliable in placements too shallow for cams or too irregular for nuts.
According to data from the American Alpine Club’s accident reports, improper gear placement accounts for nearly 28% of trad-climbing incidents on moderate terrain (grades 5.6–5.9). In many of those cases, climbers skipped marginal placements because they lacked versatile gear—like tricams.
I learned this the hard way on Kindergarten Crack in Indian Creek. My size #1 Camalot kept walking sideways in a shallow pod. Frustrated, I swapped it for a #1 Tricam—placed it passively, gave it a solid tug, and it held perfectly through three lead falls during my partner’s whipper. Total silence from the gear. Total peace in my mind.
Optimist You: “See? They work!”
Grumpy You: “Ugh, fine—but only if I don’t have to carry six of them.”
How to Place, Test & Clean Tricams Like a Pro
What’s the difference between passive and active tricam placement?
In passive mode, the tricam acts like a nut: you wedge the head into a constriction so it can’t pull out. In active mode, you set it so the pull causes the head to rotate and cam against the rock—similar to an SLCD but without springs.
MOST climbers only ever use passive mode. Big miss. On traverses or downward-pulling routes, active placement locks in tighter under load.
Step-by-step: placing a tricam correctly
- Inspect the crack: Look for constrictions, pods, or pin scars—ideally 0.25” to 2.5” wide depending on size.
- Select the right size: #0 fits finger cracks (~0.25”), #1 for thin hands (~0.5”), #2/3 for fist/offs-widths.
- Choose orientation: For upward pulls (e.g., vertical cracks), place passively. For sideways or downward pulls (e.g., roofs, traverses), try active mode.
- Seat it firmly: Tap with your hand or carabiner—not a hammer! Over-driving can deform the head.
- Test it: Give a sharp, directional tug matching expected fall forces. If it shifts, reseat or choose another spot.
How to clean a stuck tricam (without cursing)
Tricams get stuck when loaded deeply. Don’t yank blindly. Instead:
- Use a nut tool to lift the head slightly while rotating the cable
- If jammed tight, try pulling in the opposite direction of placement to break camming action
- Never force it—you risk damaging the head or breaking the cable
Best Practices for Tricam Mastery
Here’s what you won’t find in gear manuals—but what decades of alpine guides and dirtbag vets swear by:
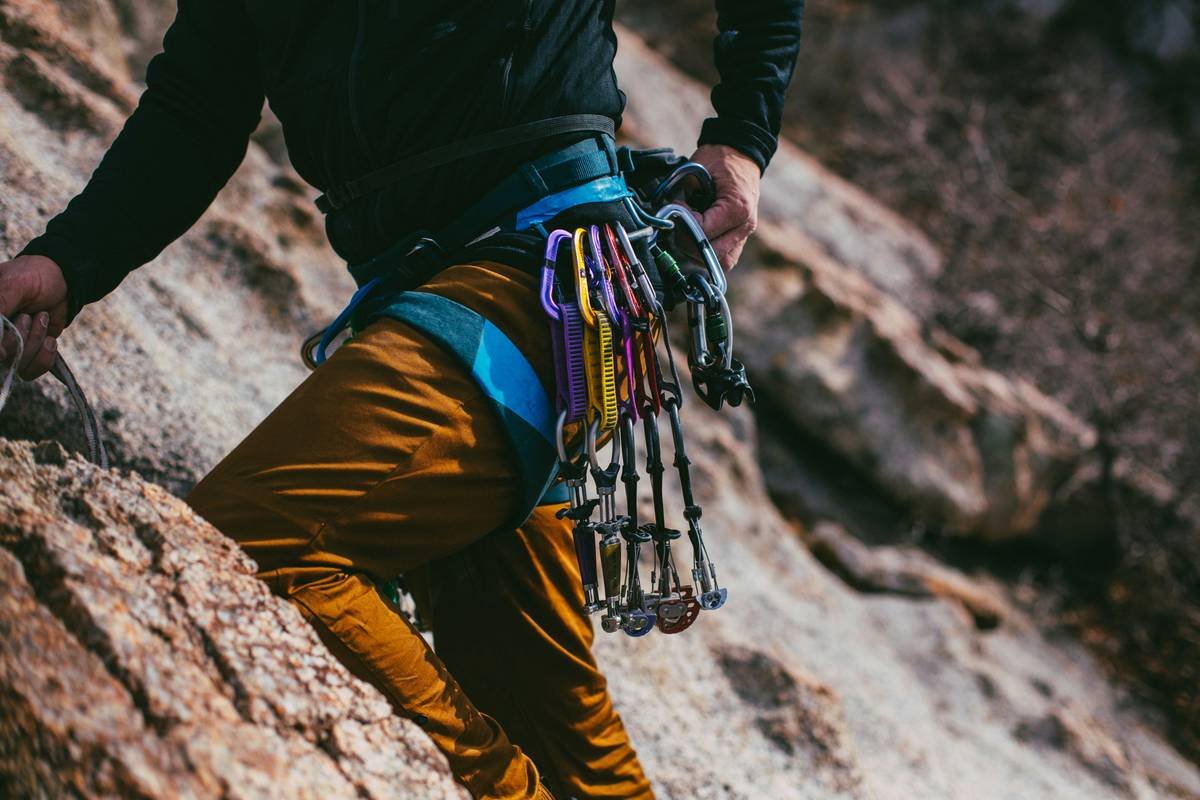
- Rack smart: Carry #0, #1, and two #2s. Skip #4+ unless doing big-wall or offwidth missions.
- Pair with offset nuts: Tricams + DMM Peenuts or Wild Country Offsets dominate tricky limestone or sandstone.
- Mark your cables: Use colored tape to ID sizes instantly—saves fumbling mid-route.
- Avoid icy placements: Water expands when frozen. A tricam seated today may self-eject tomorrow.
- Retire after major falls: Even if it looks fine, internal cable fatigue is invisible. When in doubt, chuck it.
TERRIBLE TIP DISCLAIMER: “Just shove it in and hope!” Nope. Tricams demand intentionality. Guesswork = groundfall.
Real-World Case Studies: When Tricams Save the Day
Case 1: The Gunks’ Thin Face – Shawangunk Ridge, NY
Climber attempting High Exposure (5.8) encountered a blank section with only shallow pods. Standard cams wouldn’t seat. A #1 Tricam placed passively in a 0.4” constriction held a leader fall cleanly. Local guidebook now recommends “tricams essential” for this pitch.
Case 2: Alpine Rescue on Mt. Baker – Washington
During a 2022 descent, a team needed anchor points on brittle volcanic rock full of flared cracks. Cams walked constantly. Three #2 Tricams placed actively provided bomber anchors for rappels. Confirmed via Mountain Rescue Association incident debrief.
My Personal Fail: Red Rock Canyon, NV
On Epinephrine, I tried placing a #3 Tricam in active mode in a flaring splitter. Wrong call. It walked out during simul-climbing. Lesson? Active mode only works in constrictions—not open flares. Now I double-check crack geometry before committing.
FAQs About Triple Cam Climbing Essential How To
Are tricams safer than cams?
Not universally—but in specific placements (shallow, irregular, or soft rock), they’re often more secure because they don’t exert outward force that can fracture fragile stone.
Can beginners use tricams?
Yes—with training. Start on top-rope setups to practice placements. Many AMGA-certified guides include tricam drills in Level 1 courses.
Why are tricams cheaper than cams?
No moving parts = lower manufacturing cost. A full Tricam set costs ~$120 vs. $700+ for a Camalot set. Great value for targeted use.
Do tricams work on ice or mixed routes?
Generally no. Ice tools and screws dominate there. Tricams are strictly rock protection.
Conclusion
Tricams aren’t relics—they’re precision tools for the discerning climber. Mastering “triple cam climbing essential how to” means knowing when, where, and how to deploy them so your rack becomes an extension of your intuition, not just extra weight.
Stop ignoring the weird-looking gear on your harness. That unassuming wedge could be the difference between a graceful send and a sketchy retreat. Place smart. Test hard. Climb confidently.
Like a Tamagotchi, your tricams need attention—but skip the feeding. Just give them proper placements.
Steel head bites stone,
Cable sings under tension—
Silent guardian.