You walk into the gym. Everyone’s wearing fancy shoes, chalk bags swinging, harnesses snug. You’re not sure what’s essential—just that you don’t want to look clueless or waste money. The truth? Most beginner lists push expensive, low-value items. Here’s how to cut through the noise and get only what matters.
Why 90% of “Beginner Gear Guides” Set You Up to Fail
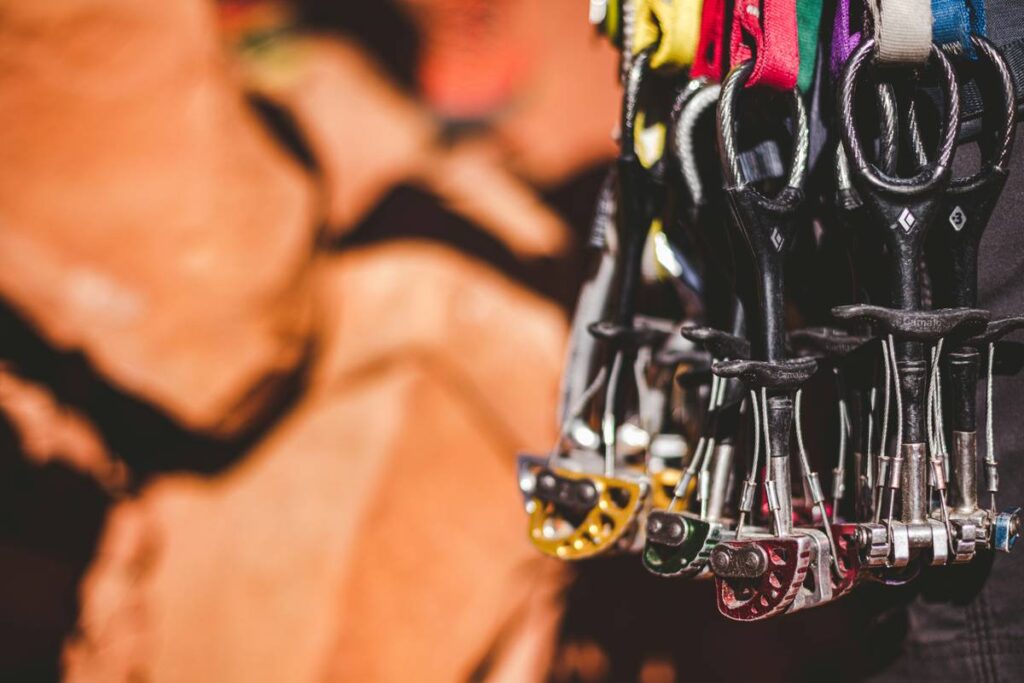
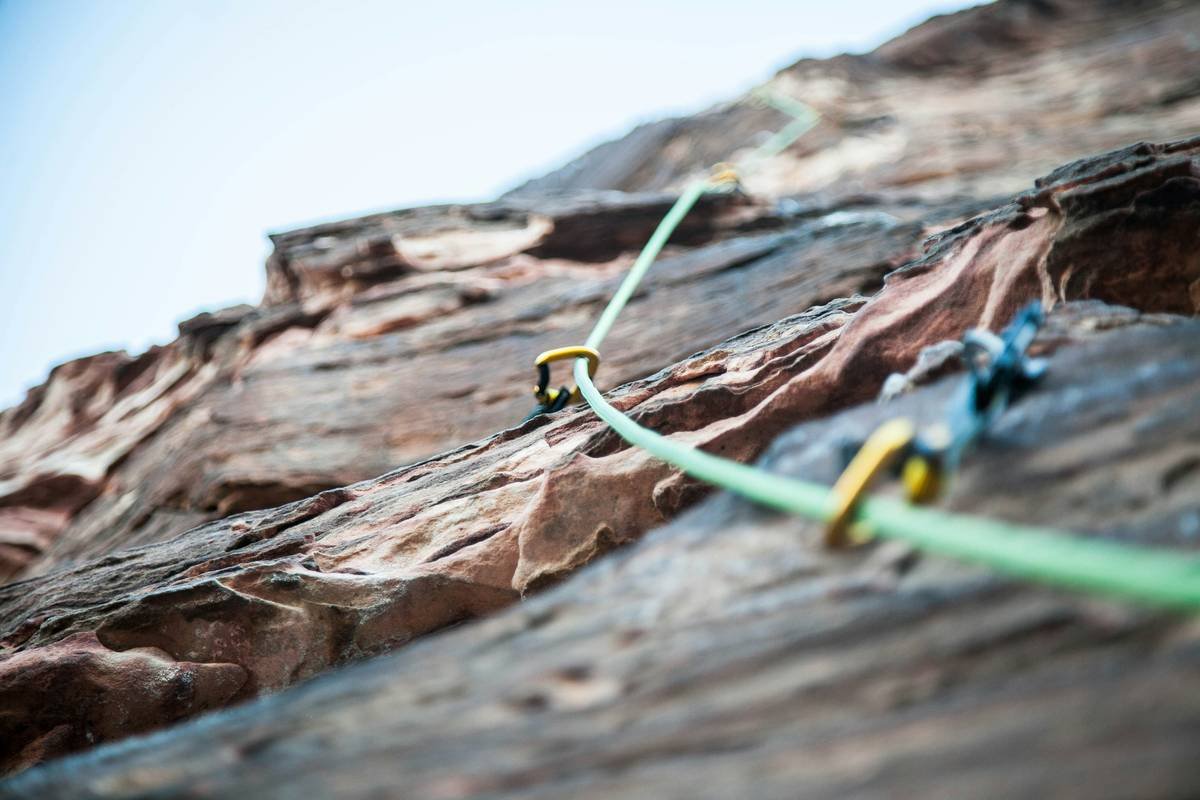
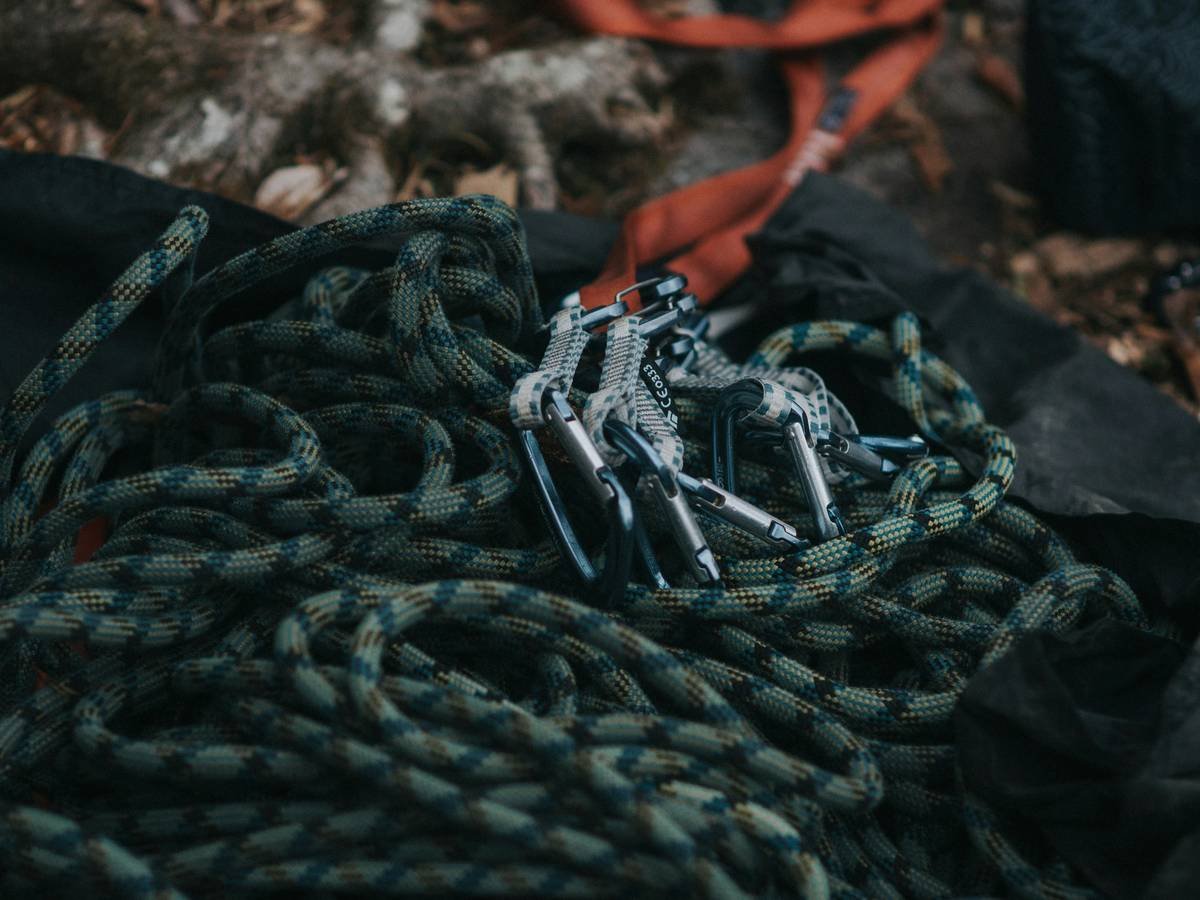
They treat indoor climbing like alpine expeditions. You don’t need cams, nuts, or tricams indoors—those are for outdoor trad routes. Period. Indoor walls use pre-placed bolts and quickdraws. Yet blogs still bundle irrelevant gear into starter kits just to inflate affiliate commissions.
And yes—tricams fall squarely in that category. They’re niche even outdoors. Indoors? Zero function. Skip them entirely.
indoor rock climbing gear for beginners: The No-BS Checklist
Start with four non-negotiables. Everything else is optional until you hit intermediate grades.
1. Climbing Shoes – Fit Over Brand
Forget aggressive downturns. Beginners need flat, comfortable lasts that let toes lie naturally. Try on at least three brands—Scarpa, La Sportiva, and Evolv often fit differently. Size down half to one full size from street shoes—but never so tight your feet go numb after five minutes.
2. Harness – Simplicity Wins
A basic padded waistbelt with two gear loops is plenty. No need for ice clipper slots or drop-seat buckles. Look for adjustable leg loops—they accommodate layers in winter gyms.
3. Chalk & Chalk Bag – But Only If Allowed
Some gyms ban loose chalk for air quality. Check first. If permitted, opt for eco-chalk (less dusty). Liquid chalk works great as a base layer—applied before your session, it lasts longer than powder.
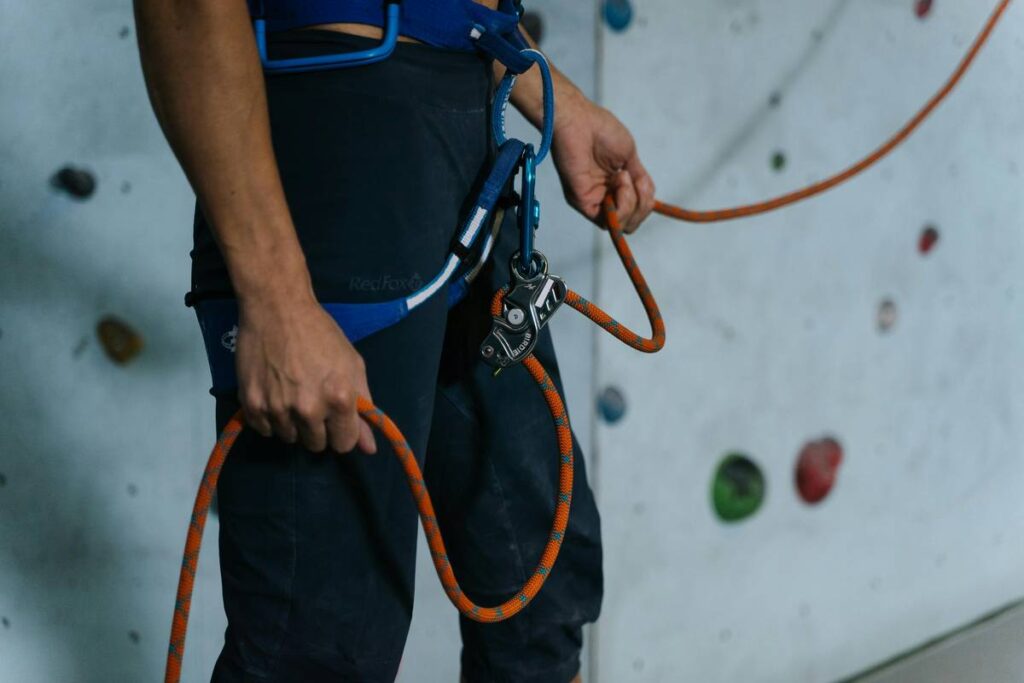
4. Belay Device – Learn with an Assisted-Braking Type
Gyms increasingly mandate devices like the Petzl GriGri or Edelrid Mega Jul. They add passive safety during belay errors—critical when nerves kick in. Skip tubes like ATCs until you’ve logged 20+ sessions.
| Gear Item | Rental Cost (Per Session) | Buy New (Entry-Level) | When to Buy Instead of Rent |
|---|---|---|---|
| Climbing Shoes | $3–$5 | $70–$110 | After 6–8 visits |
| Harness | $2–$4 | $50–$80 | After 5–7 visits |
| Belay Device | Usually included with rental harness | $70–$100 (with carabiner) | Only if certified to lead-belay |
| Chalk Bag + Chalk | $1–$2 | $15–$25 | Immediately—if gym allows chalk |
The Industry Secret: Rental Gear Is Often Better Than Cheap New Gear
Here’s what gyms won’t shout: their rental shoes are rotated weekly and often higher quality than $60 entry-level models sold online. Those budget harnesses? They use stiffer webbing that digs into hips during long sessions. And sub-$50 belay devices lack smooth rope handling—increasing wear and user error.
The math is simple. Rent for your first month. Track comfort, usage frequency, and pain points. Only then buy. One veteran I know waited 12 sessions before purchasing—and saved $200 by avoiding impulse buys pushed by influencer “essentials” lists.
Frequently Asked Questions
Do I need climbing-specific socks?
No. Many climbers go sockless in shoes for better fit. If you prefer socks, thin moisture-wicking ones work—no special “climbing socks” required.
Can I use a hiking harness for indoor climbing?
Absolutely not. Hiking harnesses lack tie-in points rated for falls. Always use a UIAA/CE-certified climbing harness.
Is indoor rock climbing gear for beginners different from outdoor gear?
Yes—significantly. Indoors, skip protection like cams, nuts, or slings. Focus only on personal gear: shoes, harness, belay device, chalk.