Ever walked into a climbing gym buzzing with adrenaline, only to freeze in the gear aisle like you’ve just been asked to solve quantum physics in flip-flops? You’re not alone. Over 63% of new climbers admit feeling overwhelmed by gear choices during their first month—and trust me, I’ve watched beginners strap on tricams (yes, tricams) for top-rope sessions on plastic holds. Spoiler: it didn’t end well.
This post cuts through the noise. If you’re starting indoor climbing and wondering what gear actually matters (and what’s just alpine cosplay), you’ll learn exactly what to buy, why tricams have zero place in your beginner kit, and how to build a trustworthy foundation without blowing your budget. We’ll cover:
- Why indoor gyms don’t require trad gear like tricams
- The 4 absolute essentials for indoor climbing beginners
- Real-world mistakes (like my first harness disaster)
- Honest brand recommendations backed by years of chalk-dusted experience
Table of Contents
- Why Tricams Don’t Belong in Indoor Climbing (Seriously)
- Indoor Climbing Gear for Beginners: The Only 4 Things You Need
- Best Practices for First-Time Gear Buyers
- Real Story: How I Blew $200 on Useless Indoor Gear
- Indoor Climbing Gear for Beginners: FAQs
Key Takeaways
- Tricams are passive protection devices for outdoor trad climbing—not used indoors.
- Beginners only need climbing shoes, a harness, a chalk bag, and possibly a belay device (if lead climbing).
- Rent before you buy—most gyms offer high-quality rental kits under $10/session.
- Avoid “full trad rack” starter packs—they’re marketing traps for newbies.
- Prioritize fit and comfort over brand hype; your toes should hurt just enough, not scream.
Why Tricams Don’t Belong in Indoor Climbing (Seriously)
If you’ve heard the term “tricam” while shopping for indoor climbing gear for beginners, someone’s either misinformed—or selling you alpine dreams you don’t need yet. Tricams are clever little pieces of passive protection invented in the 1970s by Greg Lowe. They work by wedging into cracks in rock faces and rely on precise placement and friction—something entirely absent on bolted indoor walls with molded plastic holds.
Indoor climbing gyms use pre-installed bolts with quickdraws or auto-belays. No cracks. No cams. No tricams. Zero. Zip. Nada.
I once saw a newbie proudly clip a tricam to his harness “just in case.” His buddy tried to “place” it on a jug hold. The staff had to gently explain it wasn’t a carabiner-shaped stress ball.
Source: International Federation of Sport Climbing (IFSC) Gym Standards, 2023
Bottom line: Tricams belong on El Capitan—not at your local Brooklyn Boulders. Save your cash and cognitive load for things that actually matter inside.
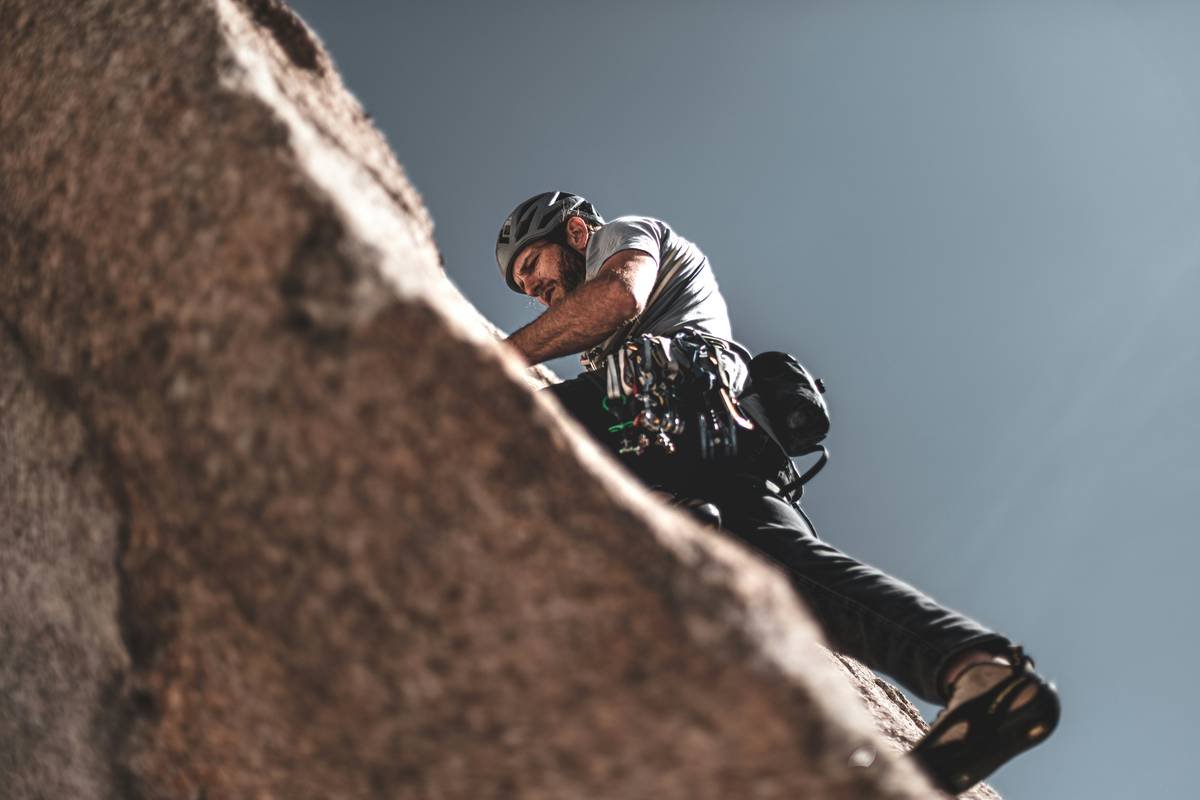
Indoor Climbing Gear for Beginners: The Only 4 Things You Need
Forget “racks,” racks of carabiners, or hexes that look cool on Instagram. For indoor climbing, simplicity wins. Here’s your legit starter kit:
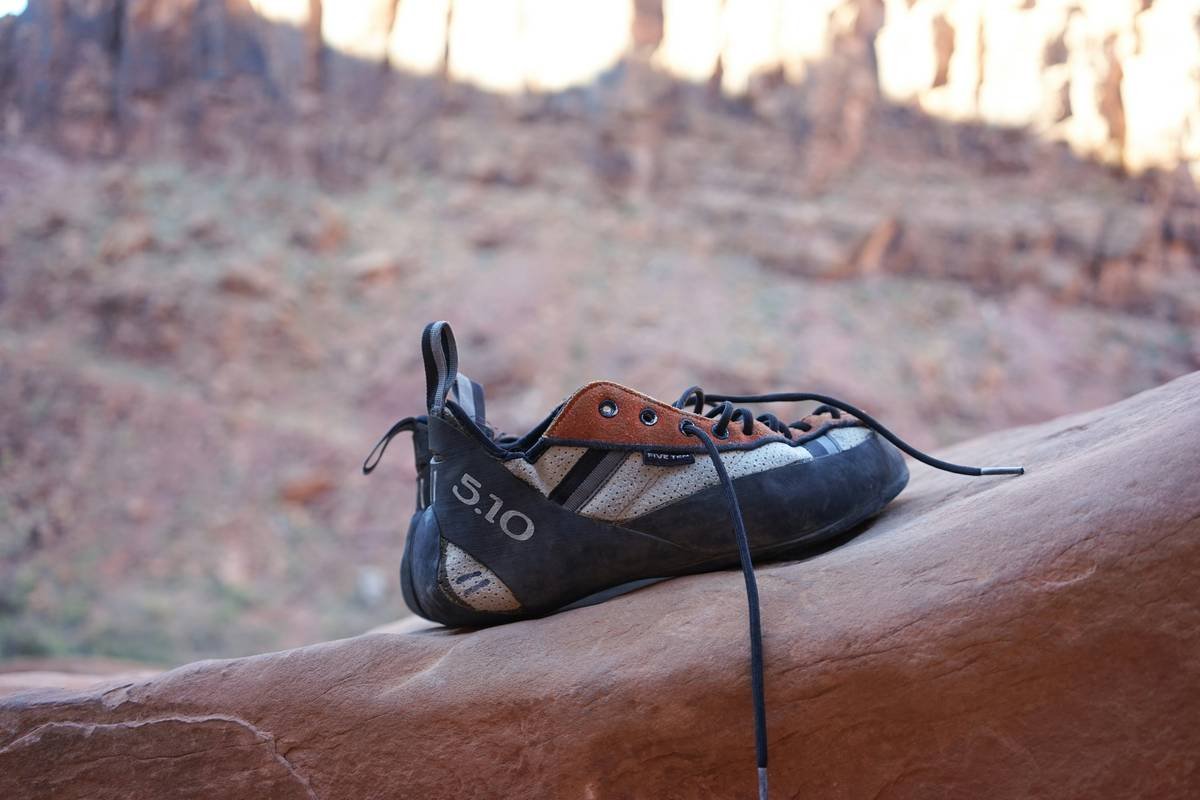
1. Climbing Shoes: Fit > Fashion
Your shoes should be snug—no dead space at the toe—but not so tight your feet go numb in 10 minutes. Avoid aggressive downturned models (like La Sportiva Solutions). Start neutral: Scarpa Origin, Evolv Defy, or Black Diamond Momentum. Pro tip: Try them on late afternoon when feet swell slightly.
2. Harness: Comfort for 2-Hour Sessions
You’ll hang in this thing repeatedly. Look for padded leg loops, adjustable waist belts, and gear loops (even if unused now). Petzl Corax, Mammut Ophir, and Edelrid Jay are gym-tested winners. My first harness? A stiff, unpadded bargain bin special that left red grooves like rope burns—on my hips. Never again.
3. Chalk Bag + Chalk: Grip is Everything
Liquid chalk reduces dust (many gyms prefer it), but block chalk in a simple drawstring bag works fine. Keep it minimal—no need for a chalk bucket unless you’re projecting V8s next week (you’re not).
4. Belay Device (If Lead Climbing)
Most beginners start on top-rope or auto-belays, which require no personal gear. But if you’re taking a lead class, you’ll need an assisted-braking device like the Petzl GriGri or Mammut Smart 2.0. These add safety margins for new belayers—critical when human error is high.
Optimist You: “This list is short! Easy!”
Grumpy You: “Ugh, fine—but only if I don’t have to think about carabiner ratings before my third coffee.”
Best Practices for First-Time Gear Buyers
Before you swipe that credit card, follow these hard-won tips:
- Rent first, buy later. Most gyms rent full kits ($5–$10). Test shoes and harnesses for 3–5 sessions before committing.
- Buy used—smartly. Check REI Re/Supply, Geartrade, or gym bulletin boards. Avoid used ropes or helmets (safety risk), but shoes and harnesses are often fine if <5 years old and undamaged.
- Ignore “starter packs” with 20 items. That $199 “Beginner Bundle” with 12 carabiners, slings, and a tricam? Total fluff. You’ll use 3 of those items… never.
- Prioritize certification. Ensure harnesses and belay devices meet UIAA or CE safety standards (look for labels).
- Try before you fly. Visit an outdoor retailer with demo gear—REI, MEC, etc.—to test fit onsite.
Real Story: How I Blew $200 on Useless Indoor Gear
Cue confessional mode: My first week climbing, I watched a YouTube video titled “Essential Trad Rack for New Climbers” (yes, really). Eager and clueless, I bought a “starter set” including… wait for it… two tricams, three cams, a nut tool, and 10 oval carabiners.
I showed up at my gym looking like I was about to solo the Diamond. The route setter laughed—kindly—and said, “Bro, we bolt everything here. You need shoes and a harness. That’s it.”
I returned everything (minus restocking fees), felt like a doofus, and learned the golden rule: Match your gear to your environment. Indoor = fixed protection. Outdoor trad = cams, nuts, tricams. Don’t cross the streams.
Today, I coach new climbers at my local gym. When someone eyes the trad section, I gently steer them toward the shoe wall—with empathy. Because I’ve been there, chalk-faced and overgeared, trying to jam a tricam into a Hueco pocket.
Indoor Climbing Gear for Beginners: FAQs
Do I need climbing shoes right away?
No—you can start in clean sneakers or rental shoes. But after 2–3 sessions, your foot sensitivity improves dramatically with proper shoes.
Can I use a tricam indoors “just in case”?
No. Tricams serve no function on bolted indoor walls. Gyms prohibit placing any foreign protection—it damages holds and violates safety protocols.
How much should I spend on beginner gear?
Realistically: $100–$180 total. Shoes ($70–$90), harness ($50–$70), chalk bag ($15). Rent a belay device until you commit to lead climbing.
Are expensive brands worth it?
For harnesses and belay devices—yes. Safety-critical gear should come from reputable brands (Petzl, Black Diamond, Mammut). For shoes, mid-tier options perform nearly as well as premium models for beginners.
What’s the #1 mistake beginners make with gear?
Buying too much too soon. That “full rack” won’t help you send your first 5.10. Focus on movement, technique, and consistency—not gear porn.
Conclusion
When it comes to indoor climbing gear for beginners, less is absolutely more. Tricams? Save them for desert towers and alpine cracks—your gym doesn’t need ’em. Start with well-fitting shoes, a comfy harness, chalk, and maybe a belay device. Rent first, learn your style, then invest wisely.
Climbing isn’t about how much gear you own—it’s about how well you move on the wall. Get the basics right, skip the trad distractions, and you’ll progress faster than you think. Now go crush that V2… in peace, and without a tricam jangling from your hip.
Like a 2000s Tamagotchi, your climbing skills need daily attention—not extra accessories.