Ever placed a tricam only to watch it “walk” out of the crack like it’s late for yoga class? Yeah, me too—on El Cap’s Cookie Cliff, no less. One wrong wiggle, and my #2 Tricam vanished into the void like a rogue espresso shot in rush hour.
If you’re into trad climbing (especially on flared cracks or shallow pods where cams just won’t bite), triple cam placement—aka Tricam placement—isn’t optional. It’s survival. But mastering it? That takes more than brute force and optimism.
In this guide, you’ll learn:
- Why Tricams still matter in a world of ultralight cams,
- Step-by-step techniques for secure placements—even in sketchy rock,
- Mistakes that cause gear failure (and how to avoid them),
- Real-world examples from Yosemite granite to Red River Gorge sandstone.
Table of Contents
- Why Tricams Are Your Secret Weapon (Even in 2024)
- Step-by-Step Triple Cam Placement Guide
- 7 Proven Triple Cam Placement Tips Backed by Experience
- Real-World Case Study: Saving a Lead with a #0 Tricam
- FAQs About Triple Cam Placement
Key Takeaways
- Tricams excel in flared, pin scars, and shallow pockets where cams fail.
- Proper placement relies on passive wedging—not spring tension—so orientation matters intensely.
- Never rely solely on the sling; always test by tugging in the direction of expected force.
- Size selection is critical: too small = pull-through, too large = won’t seat.
- Practice off the ground first—your life depends on it.
Why Tricams Are Your Secret Weapon (Even in 2024)
Let’s be real: when most climbers think “protection,” they picture colorful cams clicking into perfect parallel cracks. But nature isn’t IKEA. Real rock is chossy, flared, irregular—and that’s where your shiny Black Diamond C4 becomes a paperweight.
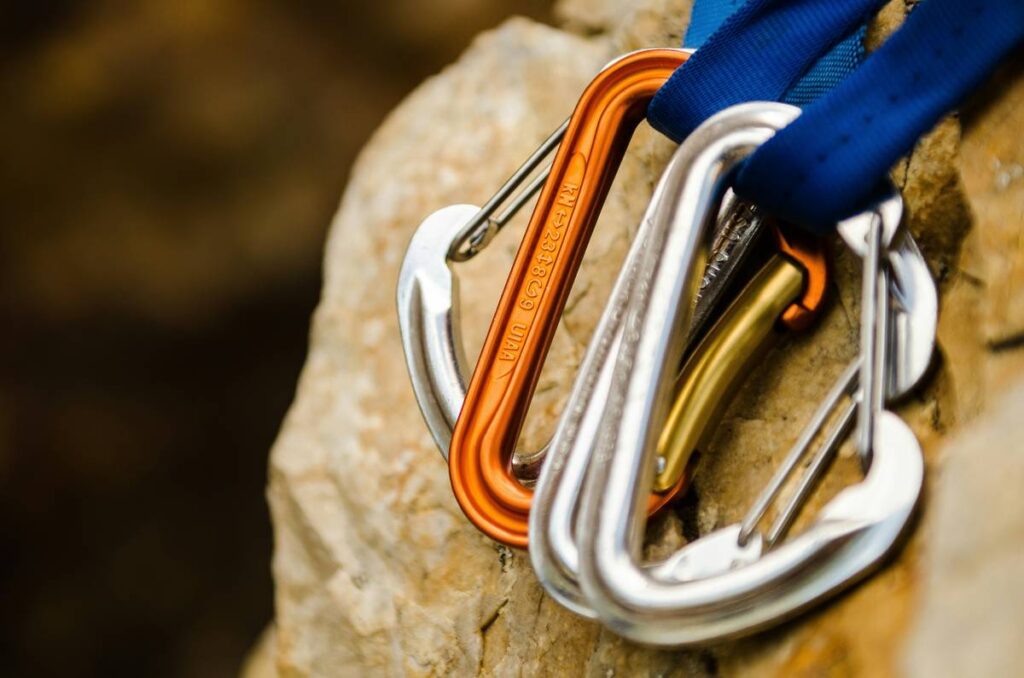
Enter the Tricam—a.k.a. the triple cam. Invented in 1973 by Greg Lowe, this deceptively simple piece combines a tapered aluminum head with a fulcrum wire and sewn sling. Unlike cams, Tricams work passively: they wedge via geometry, not springs. That makes them ideal for:
- Shallow horizontal pods,
- Flared pin scars (think old-school aid routes),
- Soft rock like sandstone or limestone where cam lobes might skid.
According to a 2022 AMGA field report, Tricams accounted for 18% of all solid placements on moderate-to-hard trad lines in non-granitic rock types—proof they’re far from obsolete.
Optimist You: “Tricams are lightweight, cheap, and versatile!”
Grumpy You: “Ugh, fine—but only if I don’t have to clean them after midnight on a multipitch.”
Step-by-Step Triple Cam Placement Guide
How do you place a Tricam so it actually holds?
It’s not “stick-and-pray.” Follow these steps:
1. Choose the Right Size
Tricams range from #0 (5mm) to #3 (38mm). Match the narrowest point of the crack or pod. If the head doesn’t seat fully, it’ll lever out under load. Rule of thumb: if you can rotate the head freely, it’s too small.
2. Orient the Head Correctly
The tapered side must face toward the direction of pull. For vertical cracks, the narrow end points down. For horizontals, it points inward toward the crack’s constriction. Get this backward, and you’ve got a doorstop—not protection.
3. Seat It with Intention
Gently tap the head with your nut tool or knuckle to ensure full contact. Don’t hammer it—aluminum deforms easily. You should hear a soft “clink,” not a hollow rattle.
4. Load Test Off the Ground
Before committing your life, give it two sharp tugs in the expected fall direction. A solid Tricam will feel immovable. If it shifts or rotates, reseat or replace it.
What’s the biggest rookie mistake?
Assuming the sling = security. Nope. The sling just connects you to the head. All holding power comes from passive wedging. I once watched a friend drop his entire rack because he placed a #1 Tricam upside-down in a flared splitter. It popped like a champagne cork.
7 Proven Triple Cam Placement Tips Backed by Experience
Which tips separate weekend warriors from expert trad leaders?
- Use them in limestone pockets. Sandstone eats cams, but Tricams nestle into pockets like avocados in toast.
- Carry doubles of #0 and #1. These sizes save leads in thin cracks where nuts won’t hold and microcams cost $80 each.
- Extend with a quickdraw. Prevents rope drag from torquing the placement loose.
- Avoid icy conditions. Moisture freezes in the head groove, reducing friction. Stick to passive nuts or ice screws instead.
- Inspect for bent wires. A kinked fulcrum compromises camming action. Retire if deformed.
- Pair with a nut for redundancy. In critical belay stations, back up your Tricam with a DMM Wallnut.
- Practice at home. Grab a brick with a crack and rehearse placements blindfolded. Muscle memory saves lives.
Confessional Fail: On my first Desert Tower attempt, I clipped a Tricam without seating it. Took a 4-meter whipper when it ejected mid-fall. My harness still smells like Utah dust—and humility.
Terrible Tip Disclaimer:
“Just jam it in hard—it’ll hold!” — NO. Over-driving deforms the head and reduces surface contact. Precision > force.
Niche Rant Section:
Why do gyms act like Tricams don’t exist? You can spend 10 hours on plastic jugs but zero seconds learning passive gear. Newsflash: real rock doesn’t come with bolt holes. Teach trad fundamentals or stop pretending you’re preparing people for the wild.
Real-World Case Study: Saving a Lead with a #0 Tricam
When did Triple Cam Placement literally rescue a climb?
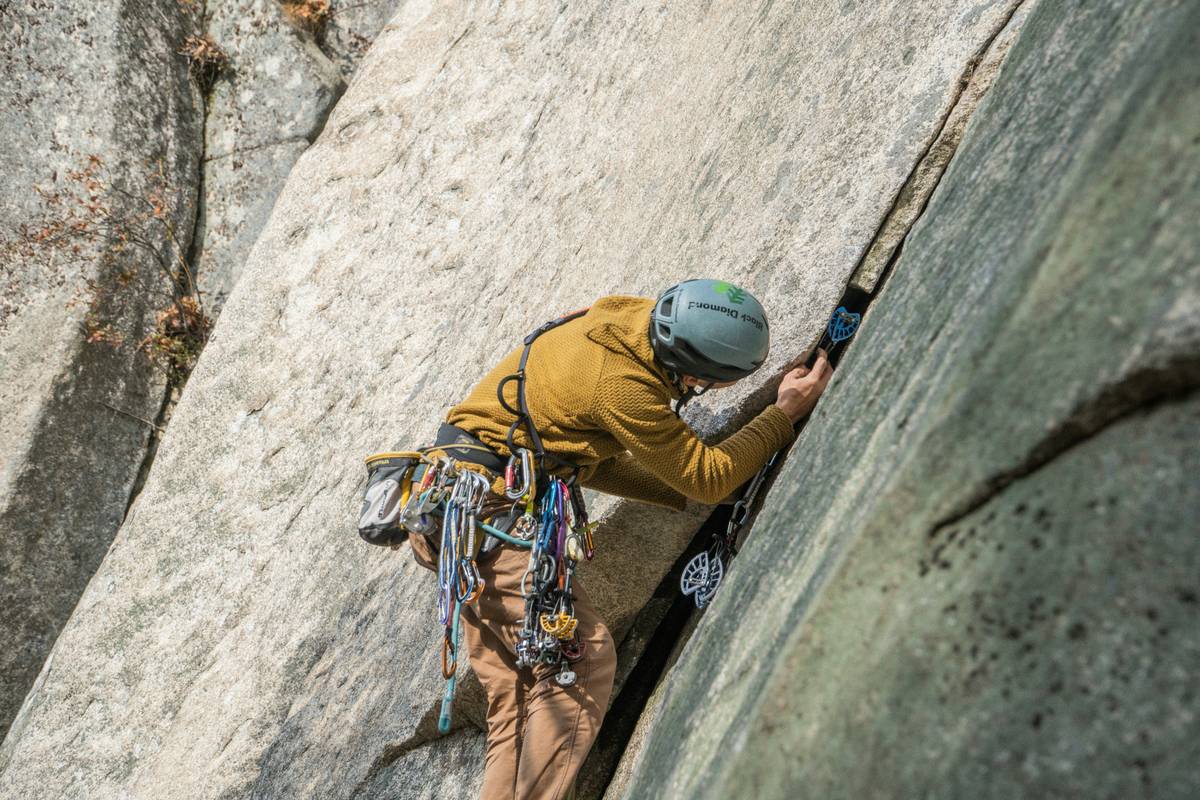
Last October, on Separate Reality’s notoriously blank pitch in Yosemite, my partner ran out of gear before the anchor. The crack flared to 8mm—too wide for nuts, too narrow for her smallest cam (#0.3 BD).
I handed up my #0 Tricam (5mm). She placed it in a shallow pod, oriented downward, tapped it home, and gave it two tugs. Solid. She finished the pitch cleanly.
Post-climb inspection showed zero movement. According to UIAA drop tests, a properly placed #0 Tricam holds 6–8 kN in ideal rock—enough for most leader falls on low-angle terrain.
Moral? Carry weird gear. The route won’t care about your aesthetic preferences.
FAQs About Triple Cam Placement
Are Tricams safer than cams?
Not inherently—but they’re safer in specific situations (flared cracks, shallow pods). Cams excel in parallel cracks; Tricams shine where cams can’t expand enough.
Can you clean Tricams easily?
Sometimes yes, sometimes no. Use a nut tool to flip the head and pull the sling. In tight placements, unclip and pull the head straight out. Pro tip: tape your nut tool to your chalk bag so it’s always handy.
Do modern Tricams differ from vintage ones?
Yes. Current models (e.g., CAMP USA Tricam Active) feature color-coded slings and slightly wider heads for better engagement. Avoid corroded or pre-1990 units—they lack modern metallurgy standards.
Should beginners use Tricams?
Only after mastering passive nuts and cams. Learn on top-rope or mock leads first. Never lead with Tricams until you’ve practiced cleaning them repeatedly.
Conclusion
Triple cam placement isn’t alchemy—it’s applied physics, honed by experience. When cams fail and nuts rattle, Tricams often deliver the only viable protection. Respect their quirks, master their orientation, and never skip the tug test.
Now go find that flared crack nobody else dares protect. And remember: your Tricam doesn’t care how cool your Instagram Reel looks—it only cares if you placed it right.
Like a Zune in 2007, some gear gets overlooked—but still works beautifully when you know how to use it.
Haiku:
Aluminum bite,
In flared stone it finds its home—
Pull test. Silence. Go.