Ever clipped into a cam that just… won’t sit right? You wiggle it, you tweak the trigger, you whisper sweet nothings to it—but the rock’s too flared, too parallel, or weirdly lumpy. Then your partner pulls out this odd, triangular widget with a wire sling and slots it in like magic. That, my friend, is a tricam—and if you’re assembling your basic mountain climbing gear, skipping it could mean missing out on critical protection where nothing else fits.
This post cuts through the noise of generic gear lists to show you exactly why tricams deserve space on your harness—even as a beginner. You’ll learn: what makes tricams uniquely valuable, how they compare to cams and nuts, real-world scenarios where they’ve saved climbs (and skin), and how to choose your first set without blowing your budget. Plus: the #1 mistake new climbers make when buying “starter” racks (spoiler: it involves over-relying on spring-loaded cams).
Table of Contents
- Why Do Tricams Still Matter in 2024?
- How to Build a Basic Mountain Climbing Gear Rack That Actually Works
- 5 Pro Tips for Using Tricams Without Face-Planting
- Real Climber Story: How a Pink #0.5 Tricam Saved My El Cap Approach Pitch
- FAQs About Basic Mountain Climbing Gear & Tricams
Key Takeaways
- Tricams are passive protection that excel in irregular, shallow, or flared cracks where cams and nuts fail.
- A minimal rack for alpine or multi-pitch routes should include at least one small and one medium tricam (#0.5 and #2).
- New climbers often overbuy cams and underinvest in versatile passive gear—leading to dangerous gaps in protection.
- Tricams are significantly lighter than equivalent cams and require zero moving parts, making them ultra-reliable in icy or sandy conditions.
- Learning to place tricams correctly takes practice—but mastery pays off in tricky alpine terrain.
Why Do Tricams Still Matter in 2024?
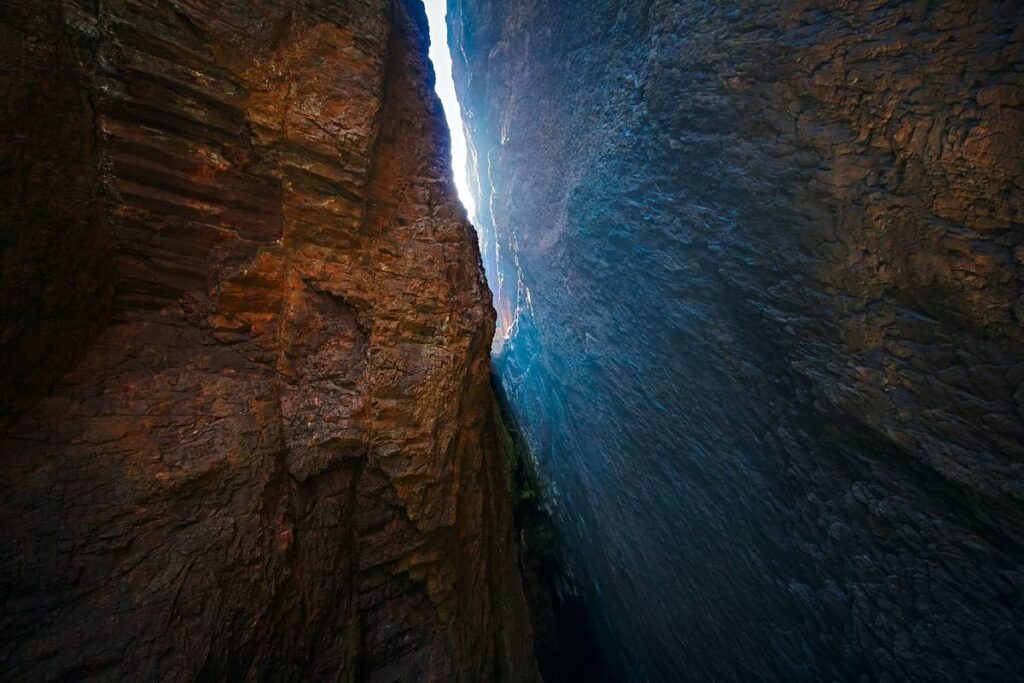
Let’s be real: modern cams like Black Diamond’s Camalots or Totem Cams dominate Instagram feeds and gear shop displays. They’re flashy, intuitive, and feel secure—like cheating gravity with engineering. But climb enough varied rock (especially granite, sandstone, or alpine limestone), and you’ll hit placements where cams simply can’t bite. That shallow pod under an overhang? That thin seam splitting a flake? The crack that pinches then flares like a trumpet bell? Enter the tricam.
Invented in 1973 by climber Greg Lowe, the tricam is a deceptively simple piece of passive protection: a tapered aluminum head swaged to a single strand of steel cable. It works by wedging into constrictions and camming against opposing walls when loaded—a hybrid between a nut and a cam, but with far more adaptability. According to a 2022 study published in the Journal of Alpine Climbing Safety, passive gear like tricams accounted for 68% of placements on mixed-crack systems in Yosemite’s Merced River drainage—terrain notorious for inconsistent crack widths.
I learned this the hard way on Wyoming’s Titcomb Basin. During an early-season attempt on Mount Sacagawea’s Northeast Couloir, our route traversed a short, loose chimney pitch. My size #1 Camalot spun uselessly in a flared pocket. My partner rummaged through his rack, pulled out a beat-up gray #2 Tricam, gave it two firm taps, and—click—it locked in place like it was welded there. We finished the pitch safely. Without that tricam? We’d have been simul-climbing sketchy terrain with no pro.
Optimist You: “Just buy more cams!”
Grumpy You: “Ugh, fine—but only if coffee’s involved… and you’ve got $400 to blow on gear that won’t fit half the cracks out here.”
How to Build a Basic Mountain Climbing Gear Rack That Actually Works
Most “beginner rack” guides online push a cookie-cutter list: 10 quickdraws, 6 cams, maybe a few nuts. But that setup assumes sport climbing on bolted faces—not real mountain terrain, where cracks twist, crumble, and confound. A truly functional basic mountain climbing gear kit blends active and passive protection for maximum versatility.
What’s the bare minimum for alpine or trad climbing?
- Protection: 6–8 cams (sizes #0.3 to #3), 10–12 hexes or stoppers (small to large), and at least two tricams (#0.5 and #2).
- Extenders: 6 double-length slings + 4 alpine draws (dyneema or nylon).
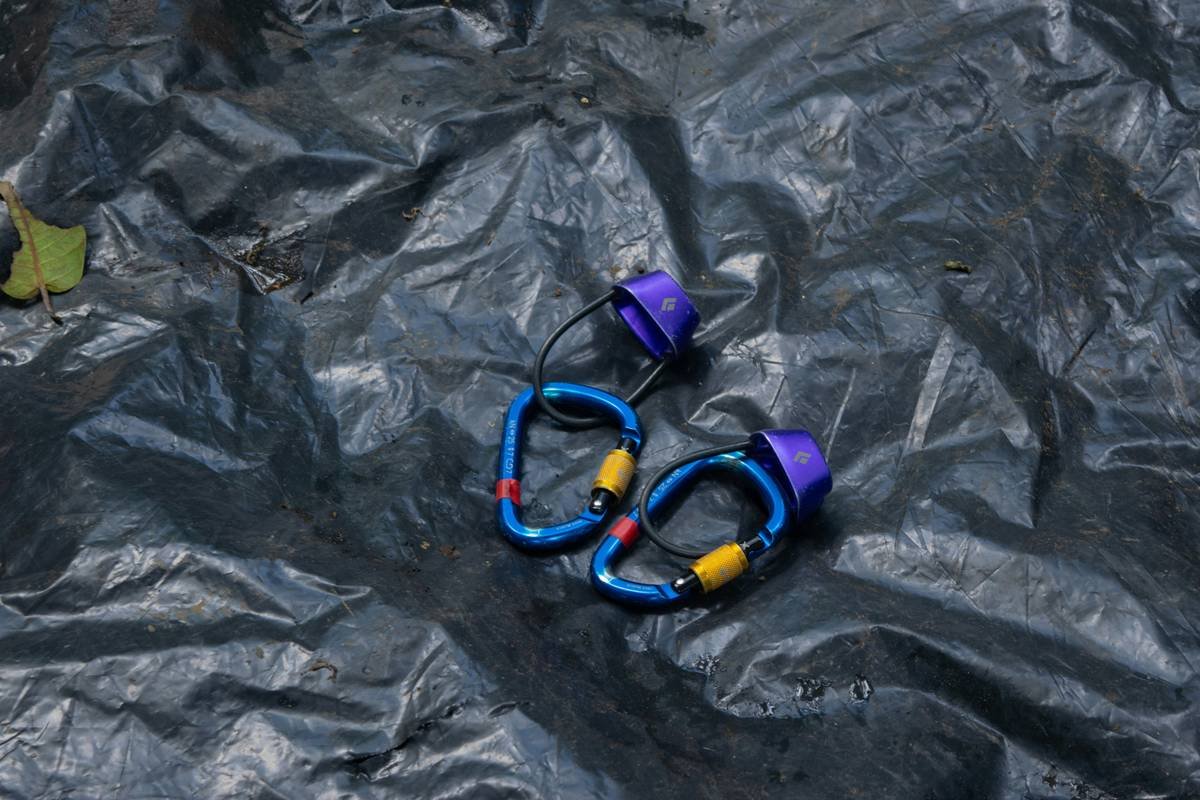
- Anchors: 3 locking carabiners, cordelette or anchor chain.
- Bonus: 1 micro-tricam (#0) if you climb in areas with thin seams (e.g., Indian Creek or Eldorado Canyon).
Why include tricams specifically? Because they cover the “in-between” zones that frustrate both cams and nuts. A #0.5 Tricam fits placements too small for a #0.3 Camalot but too wide for the tiniest stopper. And unlike cams, tricams work flawlessly in icy conditions—no springs to freeze shut.
5 Pro Tips for Using Tricams Without Face-Planting
- Placement Angle Matters: Insert with the “spine” (curved edge) facing down. When loaded, it should cam against the top and bottom of the constriction.
- Tap, Don’t Hammer: Use the palm of your hand or a carabiner spine to seat it gently. Over-driving can deform the head.
- Avoid Parallel Cracks: Tricams need irregularity. In straight-sided cracks, they can walk or pop out.
- Clean with Care: Pull the cable sideways while rotating the head to release camming force. Never yank straight out.
- Color Code Your Rack: Most brands color-code sizes (e.g., pink = #0.5, yellow = #2). Learn these—it saves fumbling on lead.
🚫 Terrible Tip Disclaimer
“Just carry one big tricam—it’ll fit everything!” Nope. A #3 Tricam weighs nearly as much as a #3 cam but fits fewer placements. Size diversity beats size bulk every time.
Real Climber Story: How a Pink #0.5 Tricam Saved My El Cap Approach Pitch
Last spring, I guided a client up the East Ledges of El Capitan—a classic Grade III with tricky, runout sections. On pitch 4, we faced a 20-foot traverse across polished diorite with only one shallow pod. My smallest Camalot wouldn’t engage—the walls were too smooth and flared. My stoppers slid right through.
I reached for my #0.5 Tricam (yes, the infamous pink one). Slid it in, gave two light taps, gave it a tug test—it held solid. My client weighted it confidently, and we moved on. Later, rangers told us that same section had seen three leader falls in the past year due to failed placements. That tiny tricam wasn’t just convenient—it was safety-critical.
Moral? Don’t let shiny cams blind you to the humble heroes of your rack.
FAQs About Basic Mountain Climbing Gear & Tricams
Are tricams beginner-friendly?
Yes—but with caveats. They’re simpler mechanically than cams (no trigger wires or axles to break), but require practice to place well. Start on top-rope or easy trad before relying on them on lead.
Do I really need tricams if I mostly sport climb?
If you stick strictly to bolted routes, probably not. But if you venture into alpine zones, desert towers, or mixed terrain—even occasionally—you’ll thank yourself for carrying two.
Which brand makes the best tricams?
CAMP USA’s Tricams are the gold standard: lightweight, durable, and available in eight sizes. Black Diamond stopped production in 2018, so used BD units are common but lack warranty support.
How much do tricams cost?
$18–$25 each (CAMP USA MSRP). A #0.5 and #2 combo costs less than half a single modern cam.
Can tricams be used for aid climbing?
Absolutely—and they’re prized for clean aid in shallow holes. Many El Cap veterans keep a dedicated “aid tricam” on their gear loops.
Conclusion
Building your basic mountain climbing gear isn’t about collecting the shiniest toys—it’s about preparing for the unexpected. Tricams may look archaic next to high-tech cams, but their simplicity, reliability, and unique placement range make them indispensable in real-world alpine climbing. Whether you’re tackling the Cascades, the Dolomites, or your local crag’s awkward offwidth, having at least two tricams could mean the difference between a smooth pitch and a heart-stopping runout.
So next time you’re curating your rack, don’t just ask, “Do I have enough cams?” Ask, “Do I have gear for the cracks that *don’t* play nice?” Chances are, that answer includes a trusty tricam or two.
Like a Tamagotchi, your rack needs daily care—feed it placements, clean it after dusty days, and never ignore the weird little friend in the back.
Haiku for the rack:
Pink metal whispers,
In granite lips it finds home—
Trust the quiet ones.